Giving New Life to a Too-Small Shirt
The picture doesn’t do justice to how uncomfortably tight it was 😂
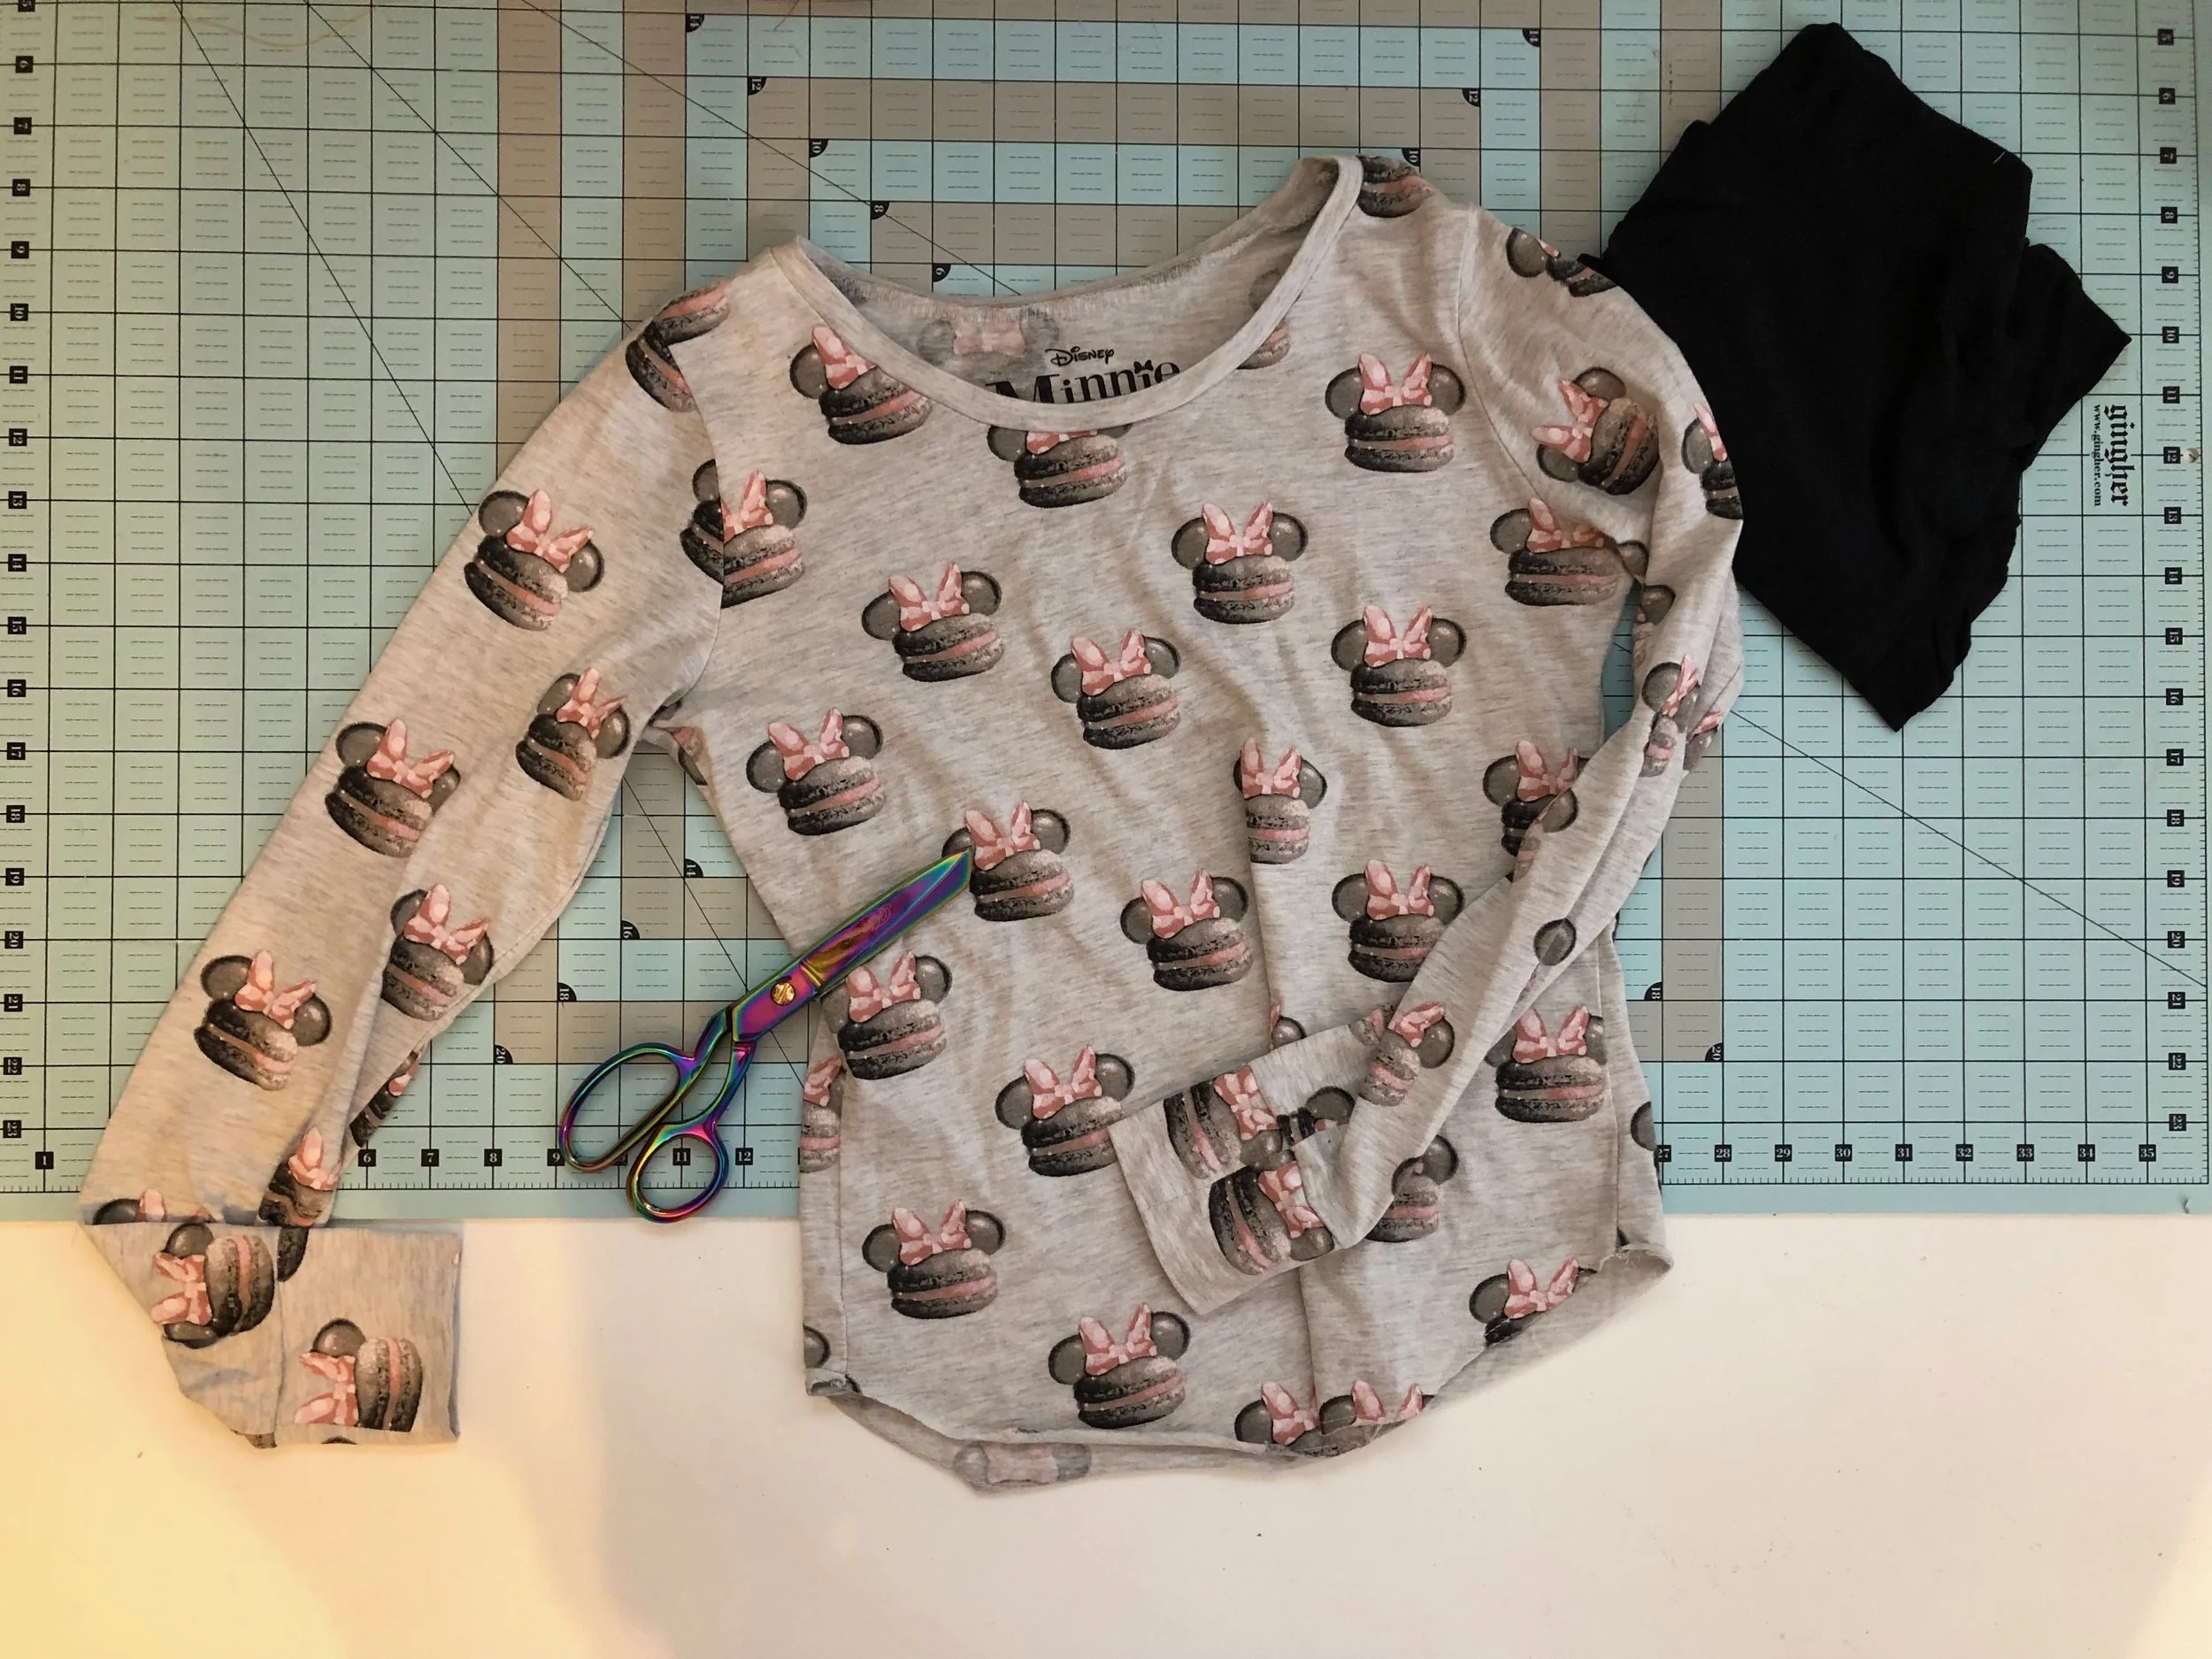
It’s no secret that I love everything Disney, and in the past year or so I started following several style bloggers and small shop owners who create Disney-inspired looks and goods, making it so that even though I don’t get to go to the parks everyday, I get to live vicariously and experience Disney magic basically everyday. Sometimes these Disney fashionistas wear things that I just can’t help but covet, and a few months back, one of them wore this adorable Minnie Mouse macaron shirt that I REALLY wanted. Well, fortunately for me, she mentioned where she got it in one of her Instagram Stories! Unfortunately for me, she got it years ago from a company that no longer exists. So I took to the internet and Googled around until I stumbled across one on Poshmark! Score! Except it was a size small in a brand that ran small, and there is no way I’m a small. But I bought it anyway, because I’m crazy and crafty and up for a challenge - and I just couldn’t live without that fabric in my life 😉
It came, and it was just as small as I thought it would be. I put it on and felt a bit like a sausage. Brainstorming I came up with a couple options - I could either just put a stripe of some fabric from the wrist all the way up to the armpit and then down to the waistline, or I could add my own sleeves and add some fabric to the torso.
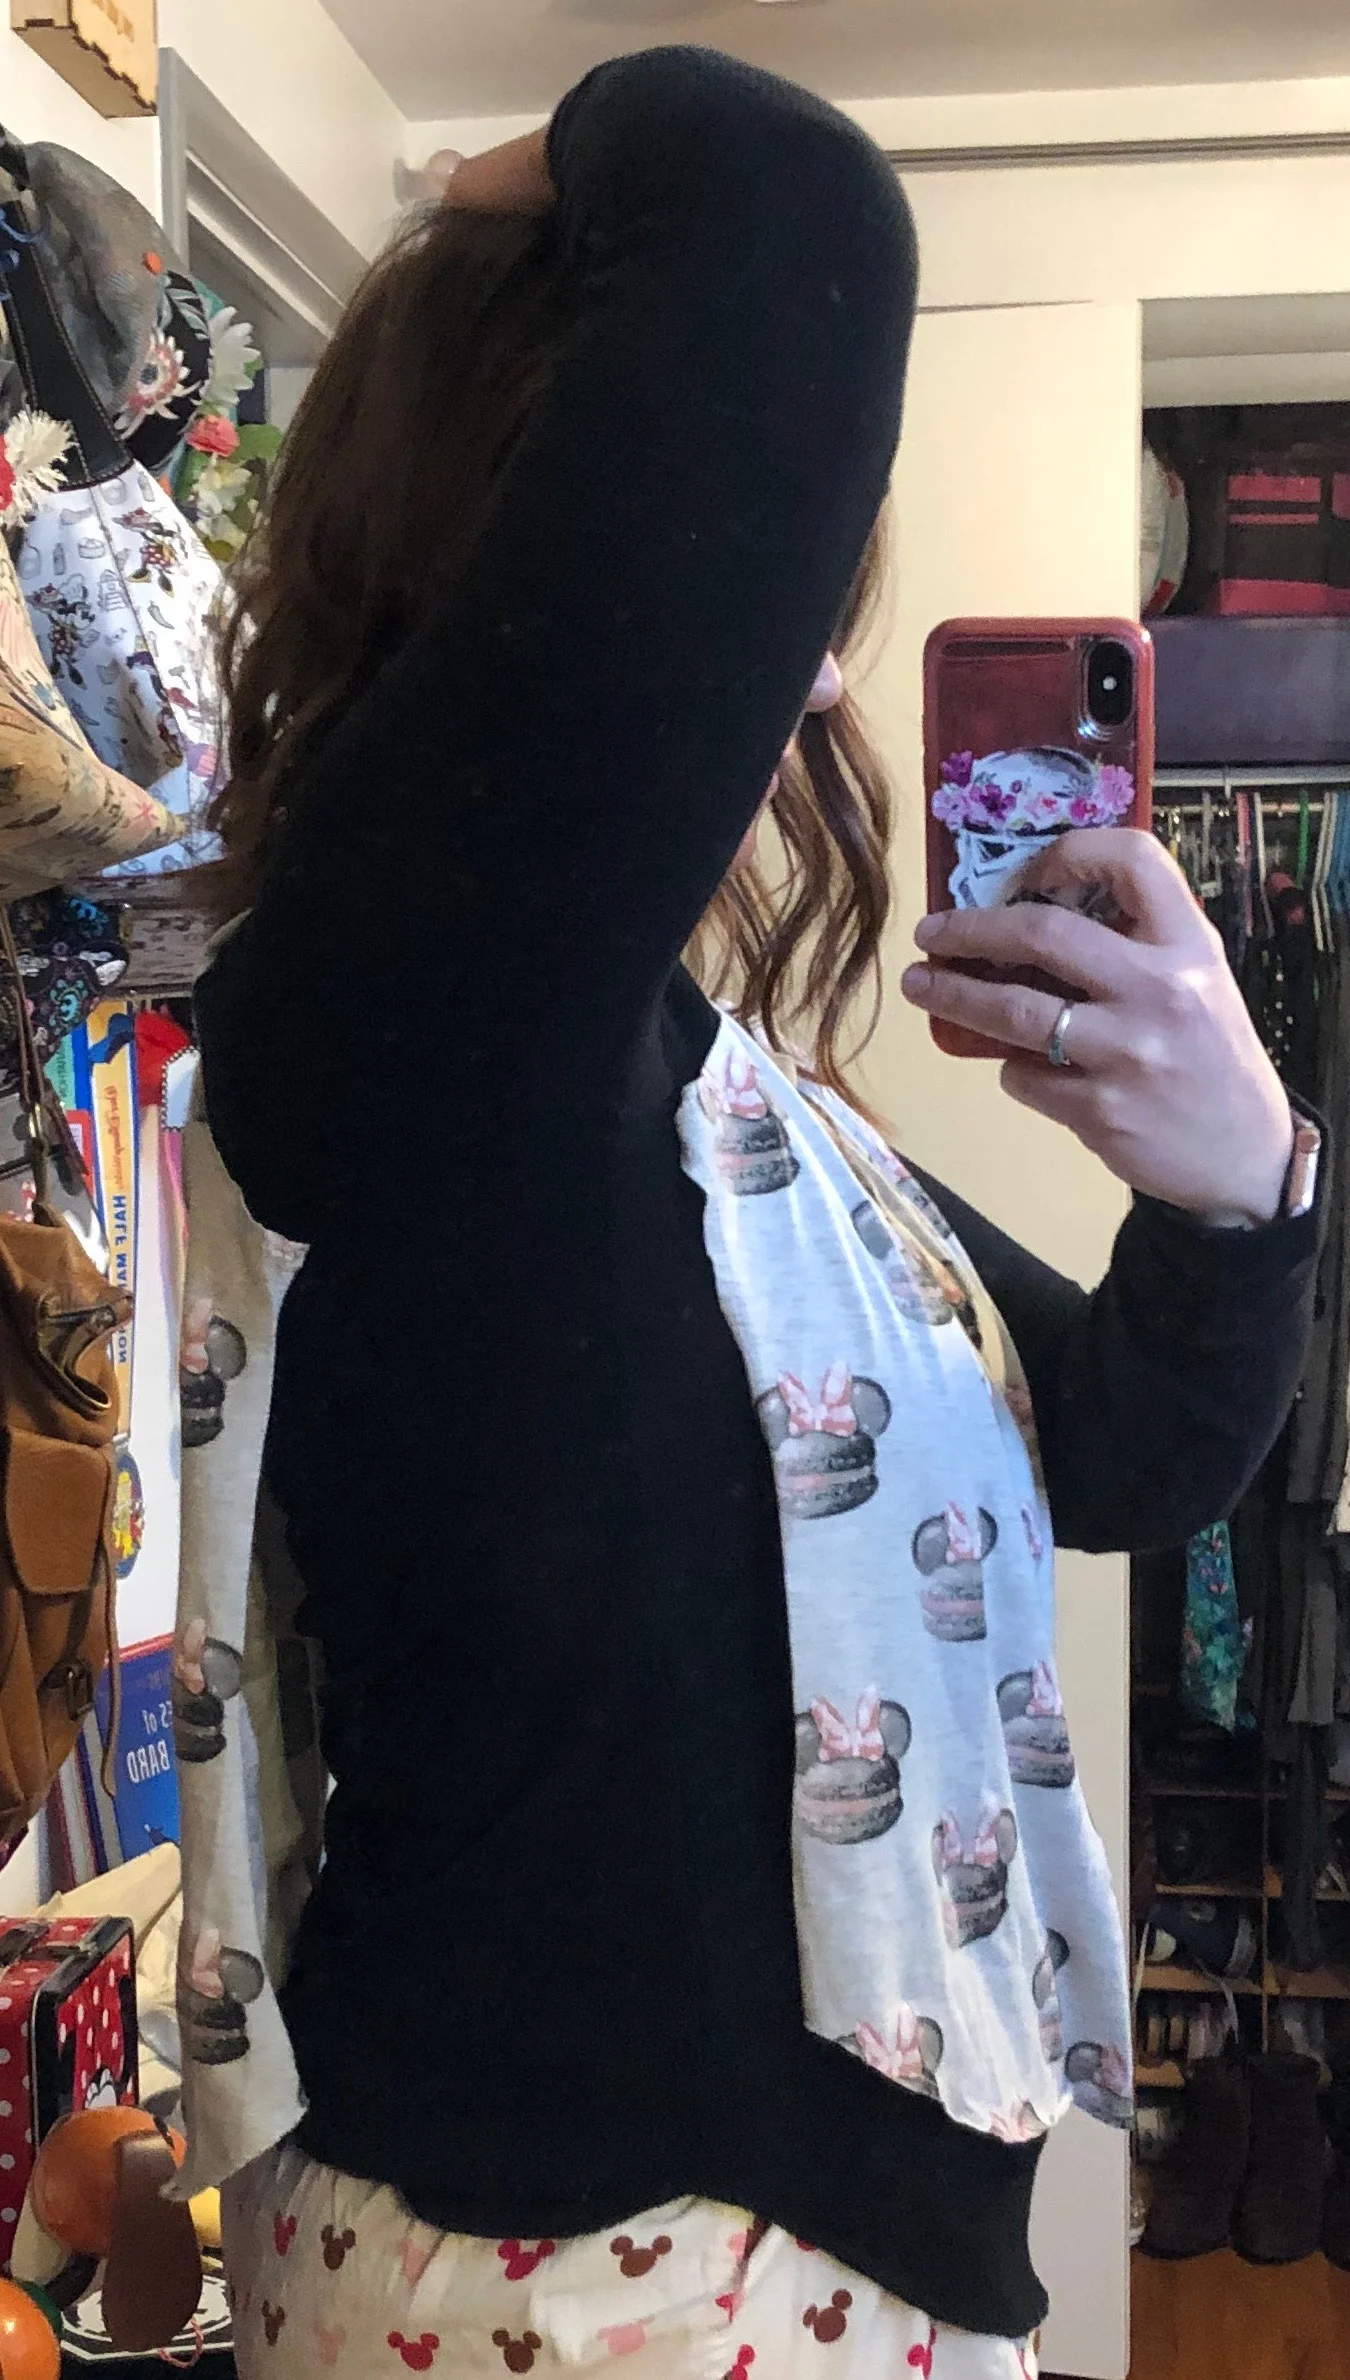
So, on New Years Eve, rather than party, I sewed. I opted for the second option, and decided to reuse the wrist cuffs, and use the sleeves as extra torso fabric. I decided to go with plain black fabric for the sleeves, in a soft jersey material that I had some scraps of. I used an overlock stitch for everything except for the hem, which is just a straight stitch (which is okay since it’s such a loose shirt).
Step One: Rip that tiny shirt apart!
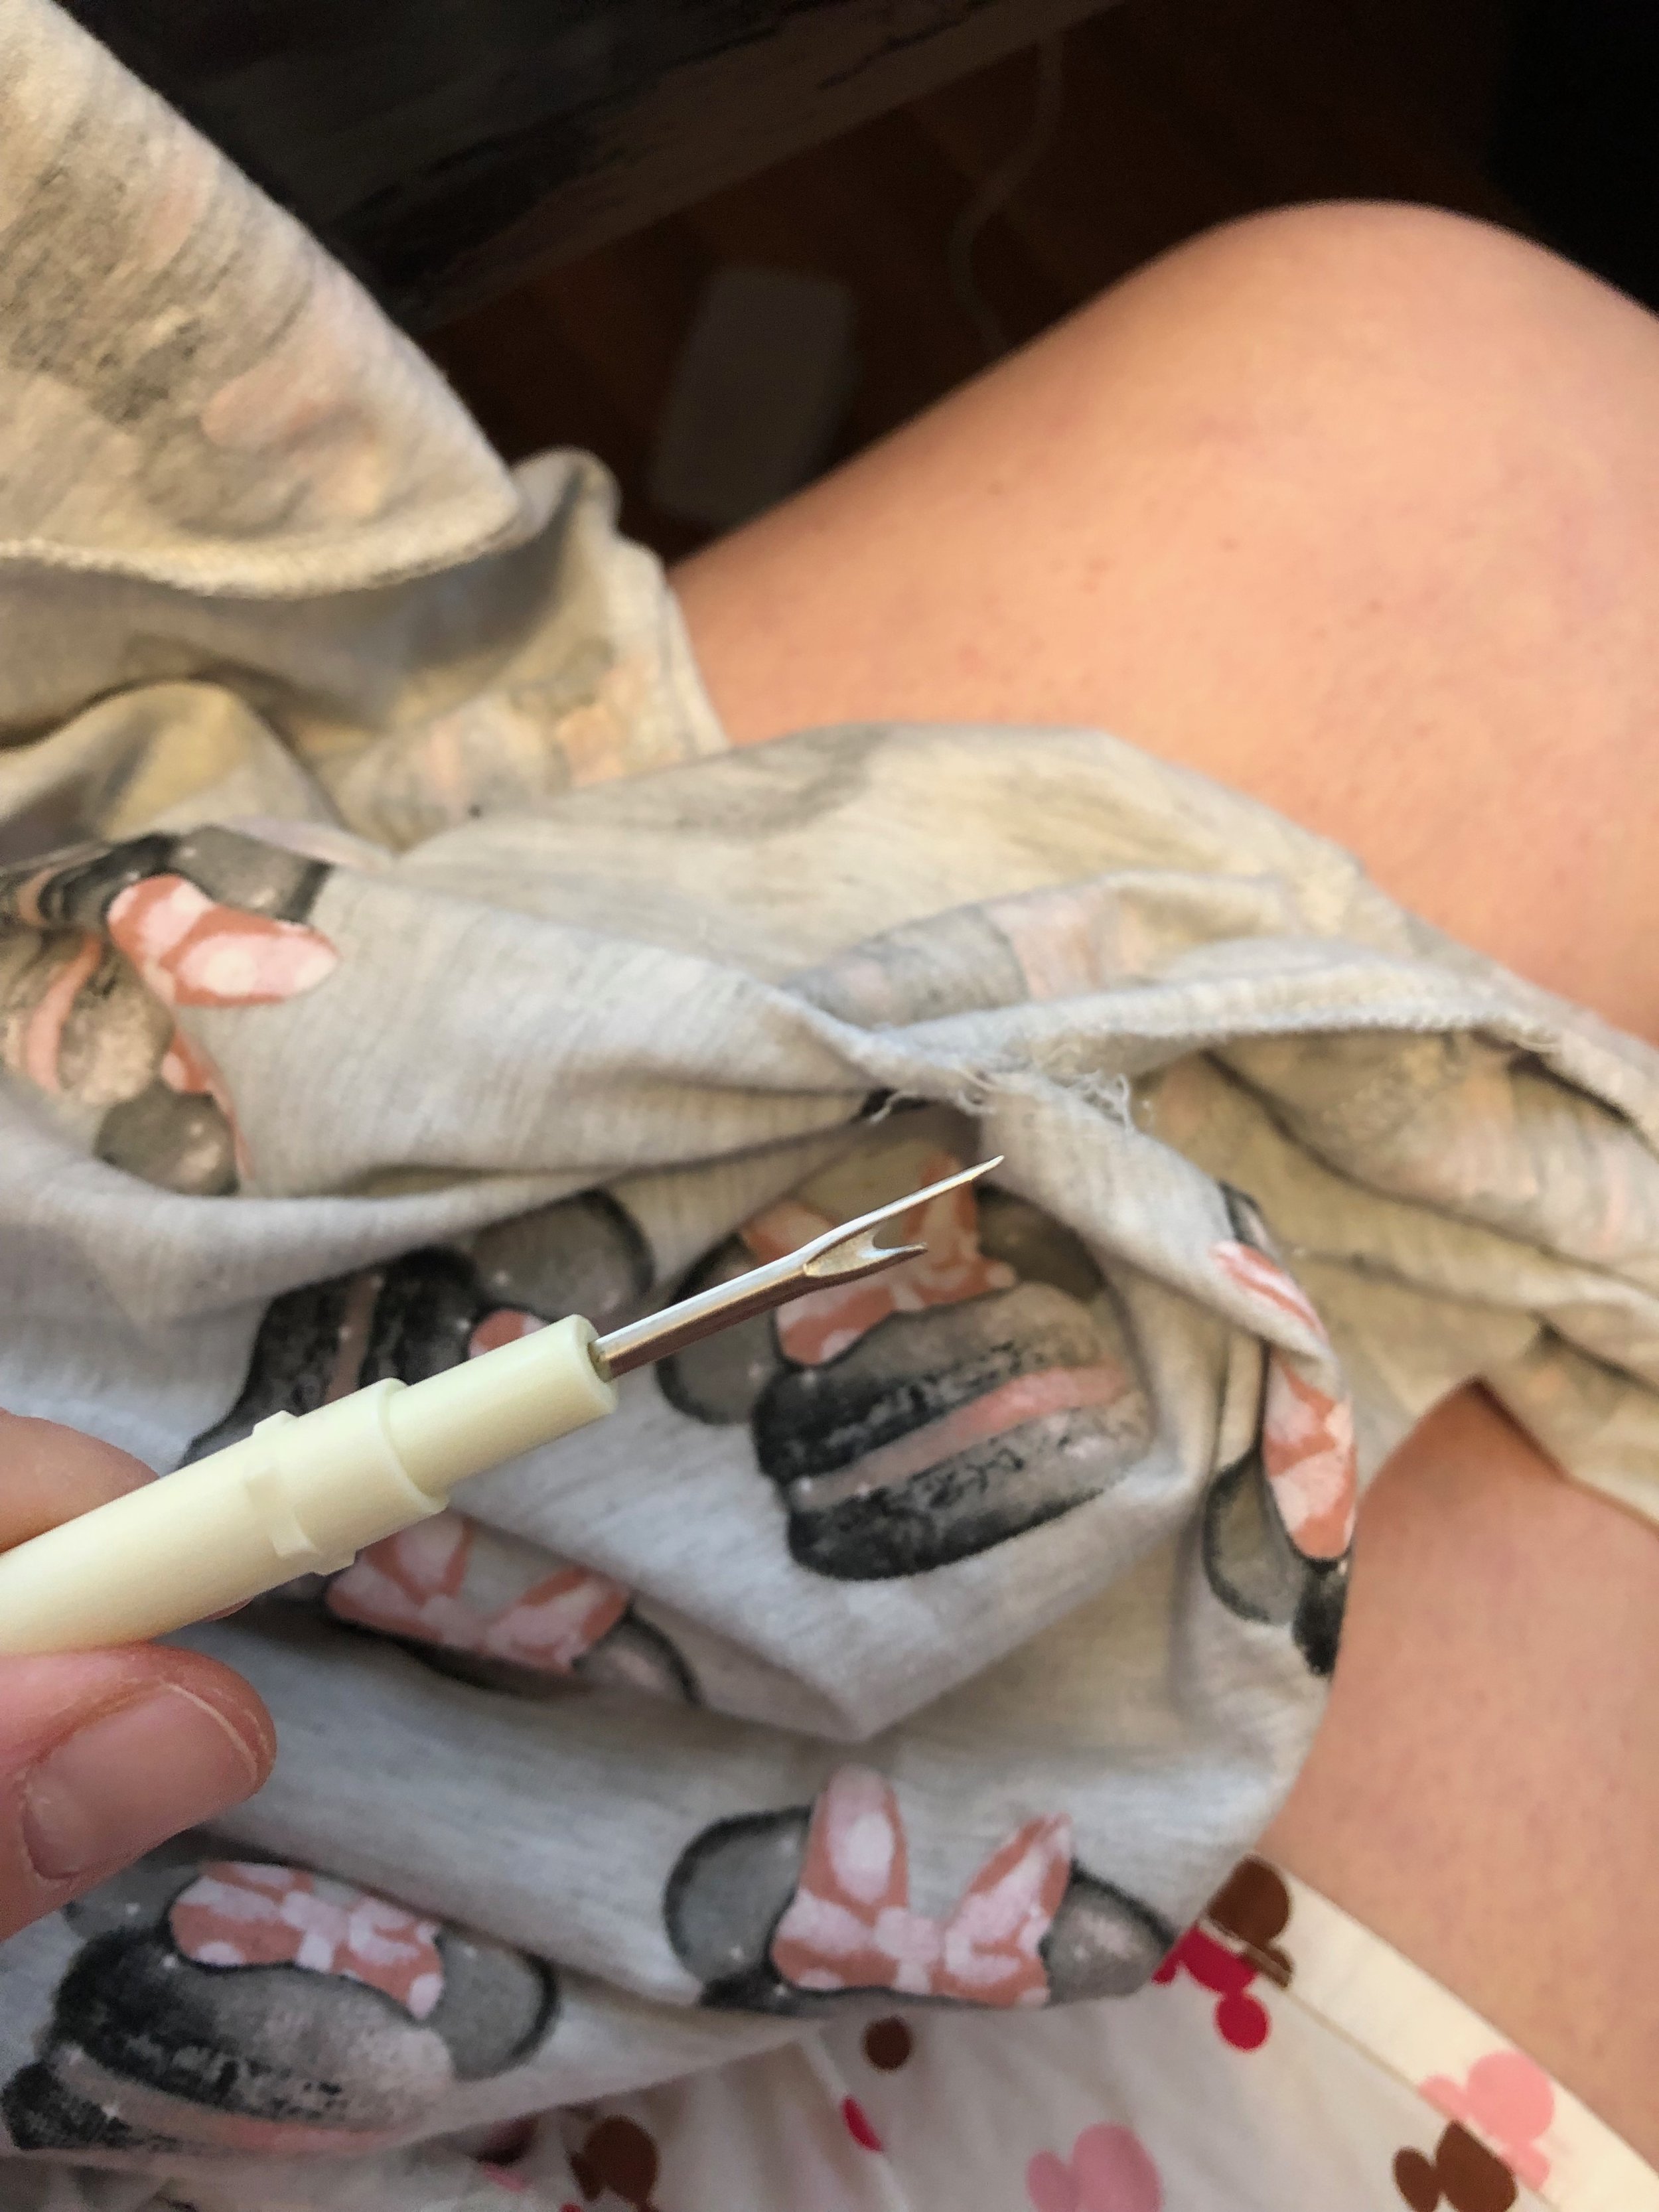
This was probably the most difficult part, mostly because my hands got SO TIRED. I ripped every seam apart except for the shoulders and neckband.
Step Two: Create new sleeve pieces.
This step involved a bunch of guesstimating. After deciding that an extra 6 inches of fabric was going to be good for the added side panels, I used the shape of the existing sleeves as a guide for my new sleeves. I ended up cutting four pieces, two for each side, because that’s what worked with the shape of the scraps of black I had, and I was not about to leave my cozy house in the 5 degree weather. I then created two sleeves (basically black tubes), by sewing right sides together. If you have big enough pieces to work with, you only have to do one seam per arm on this step, but I had to do two.
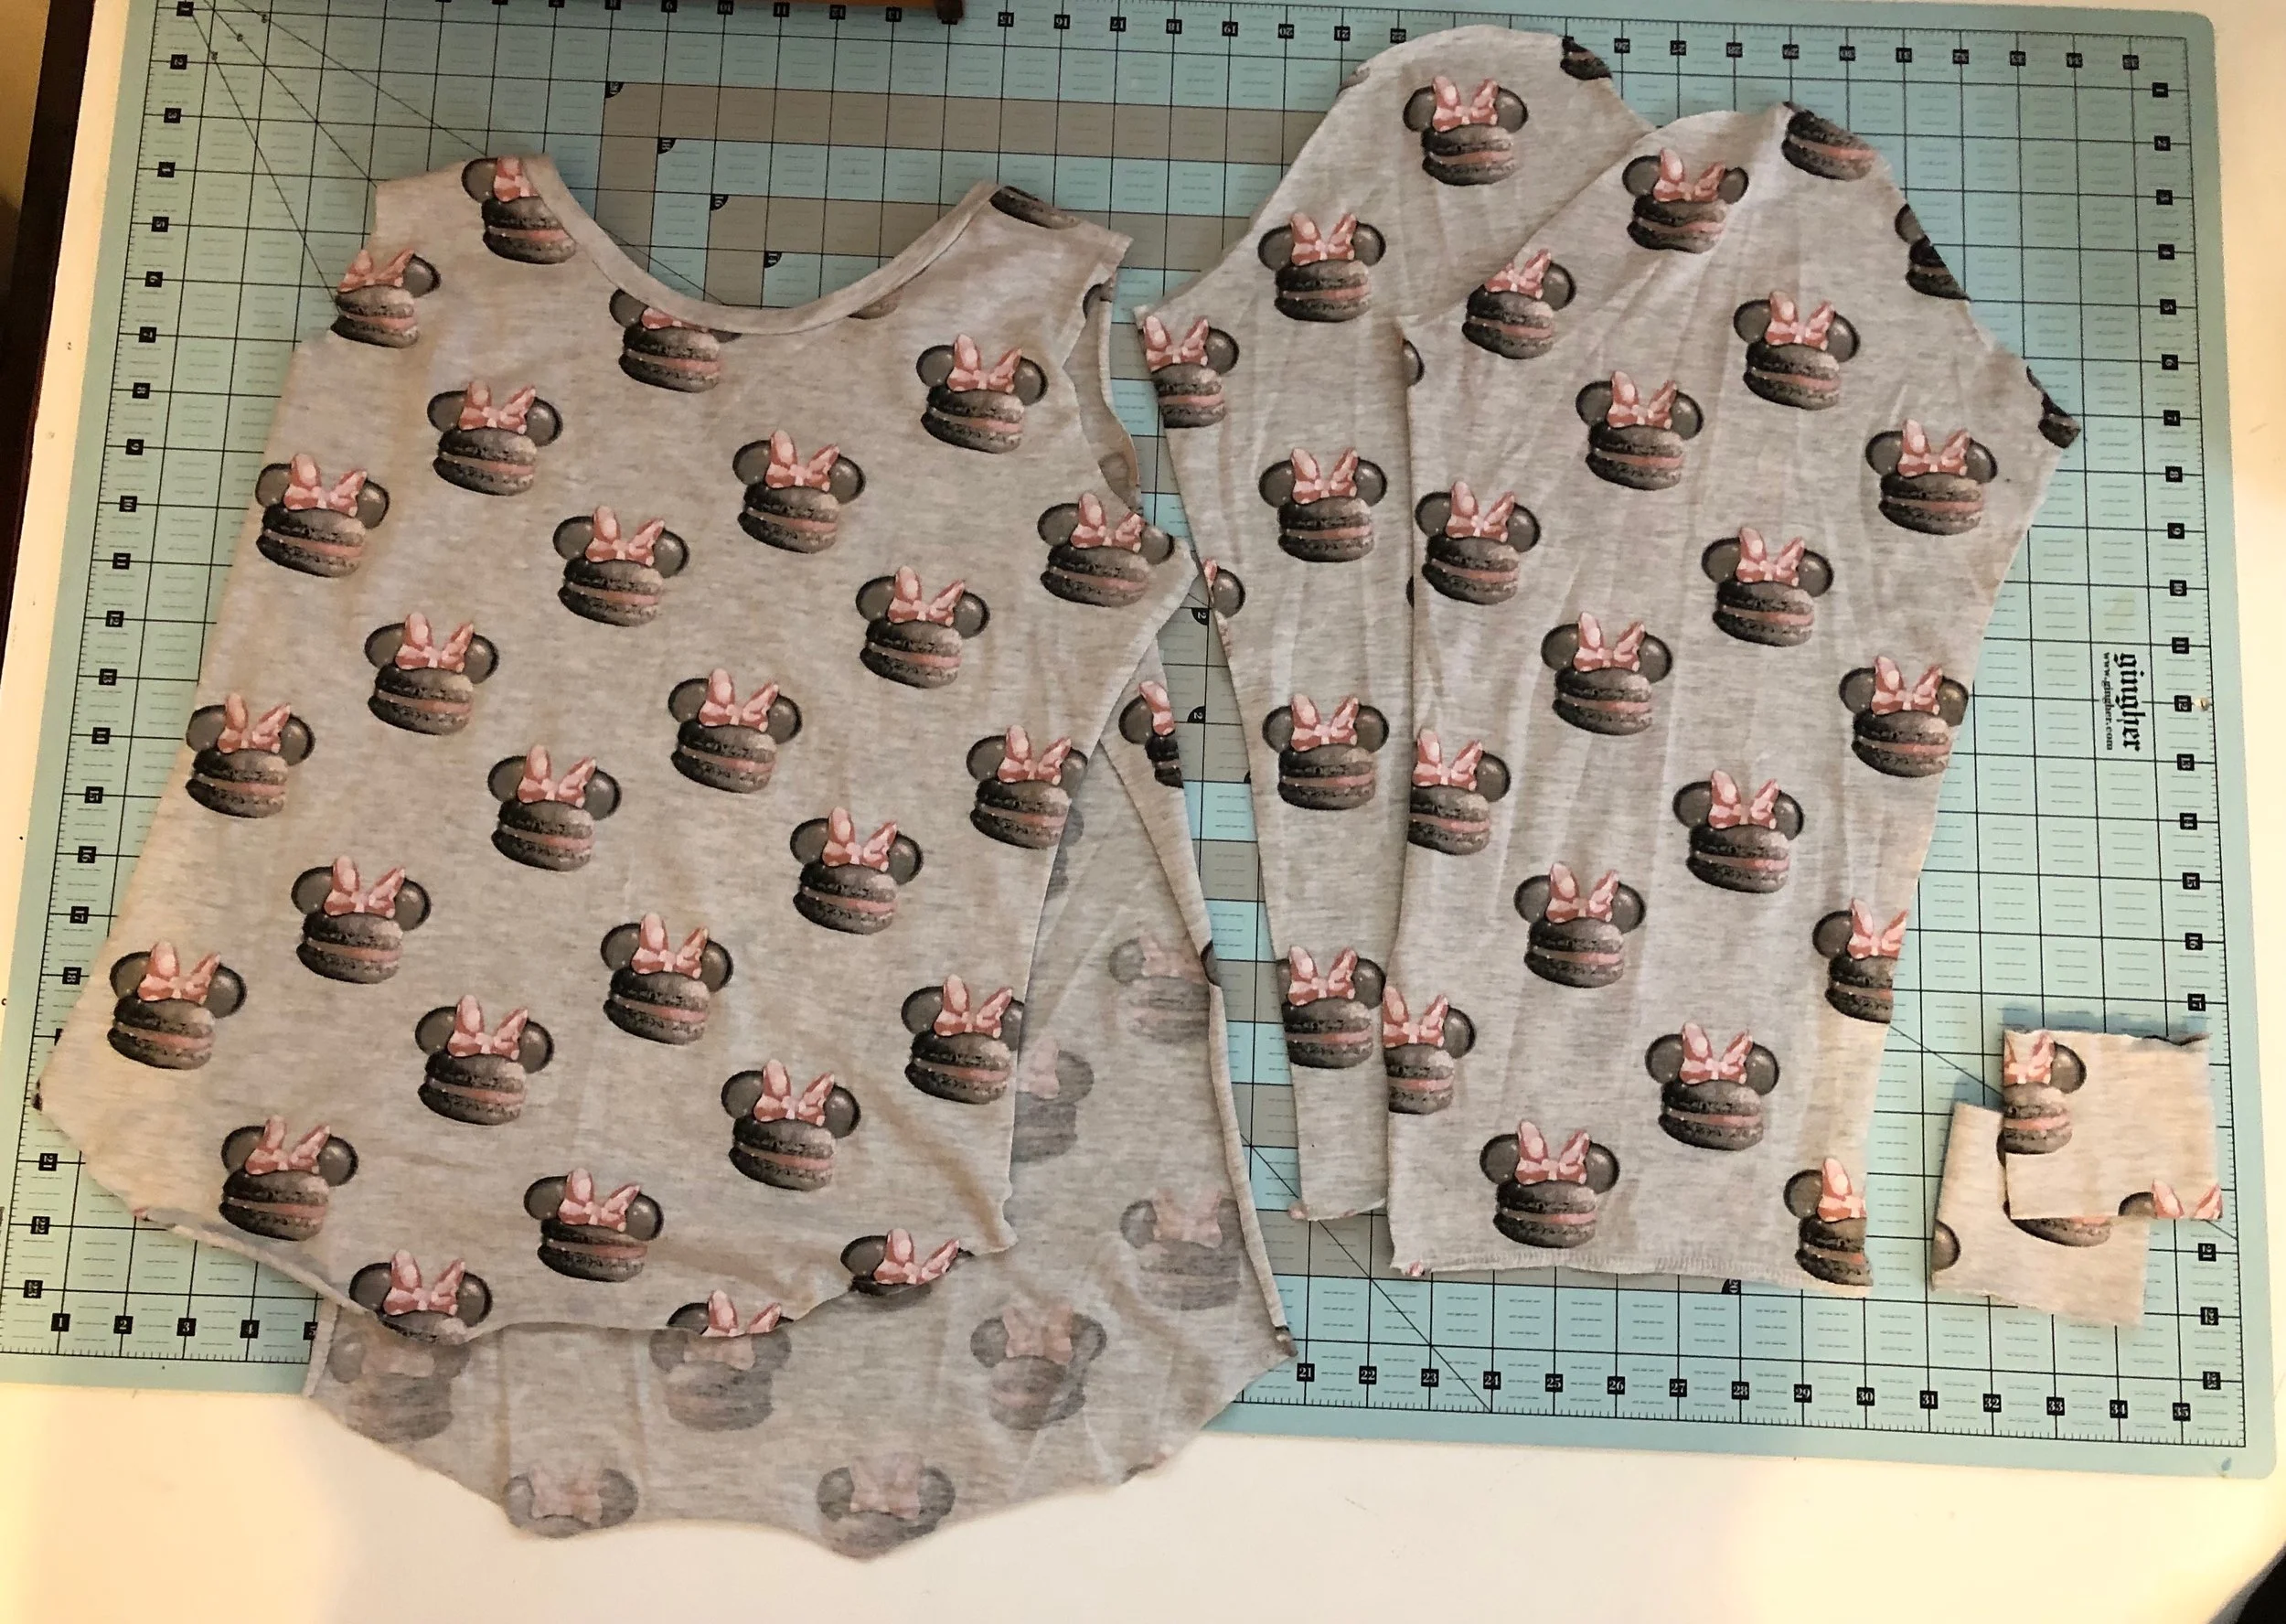
Step Three: Add side panels to torso piece.
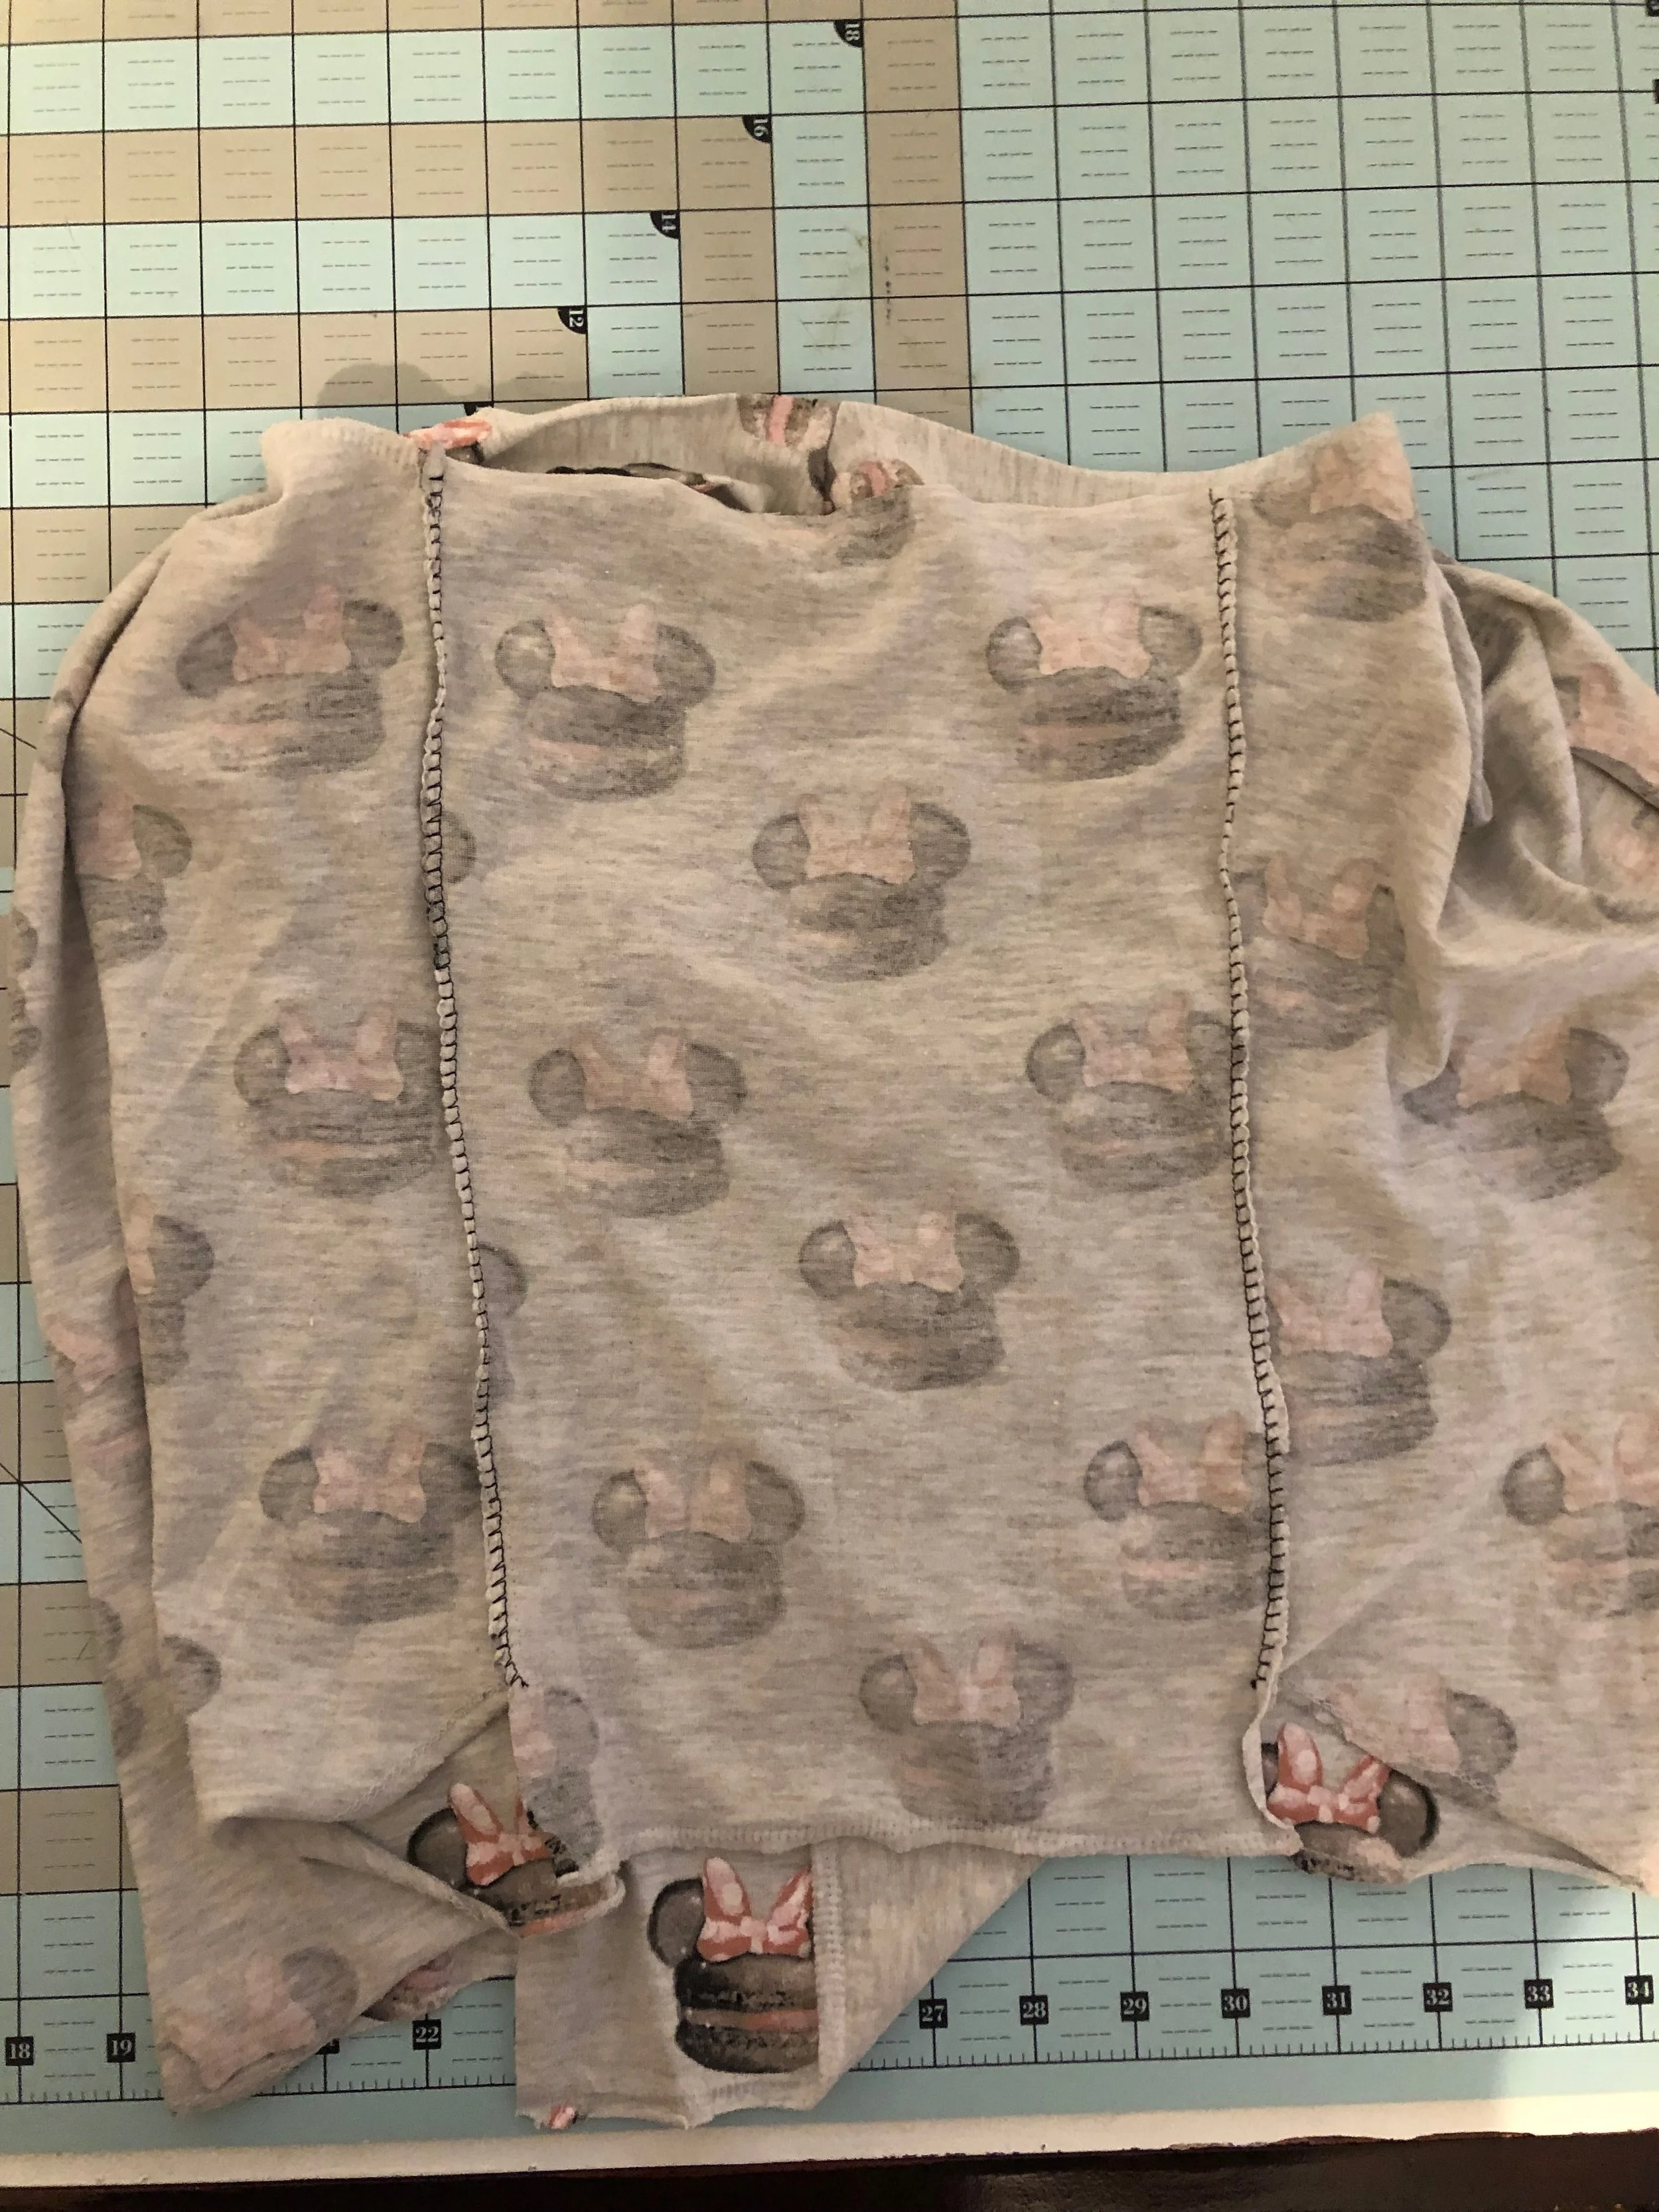

I cut each original sleeve into a rectangle, and attached them, right sides together, to each side of the torso. At this point, I could have just bound the armholes and made a flowy tank top!
Step Four: Attach new arms!
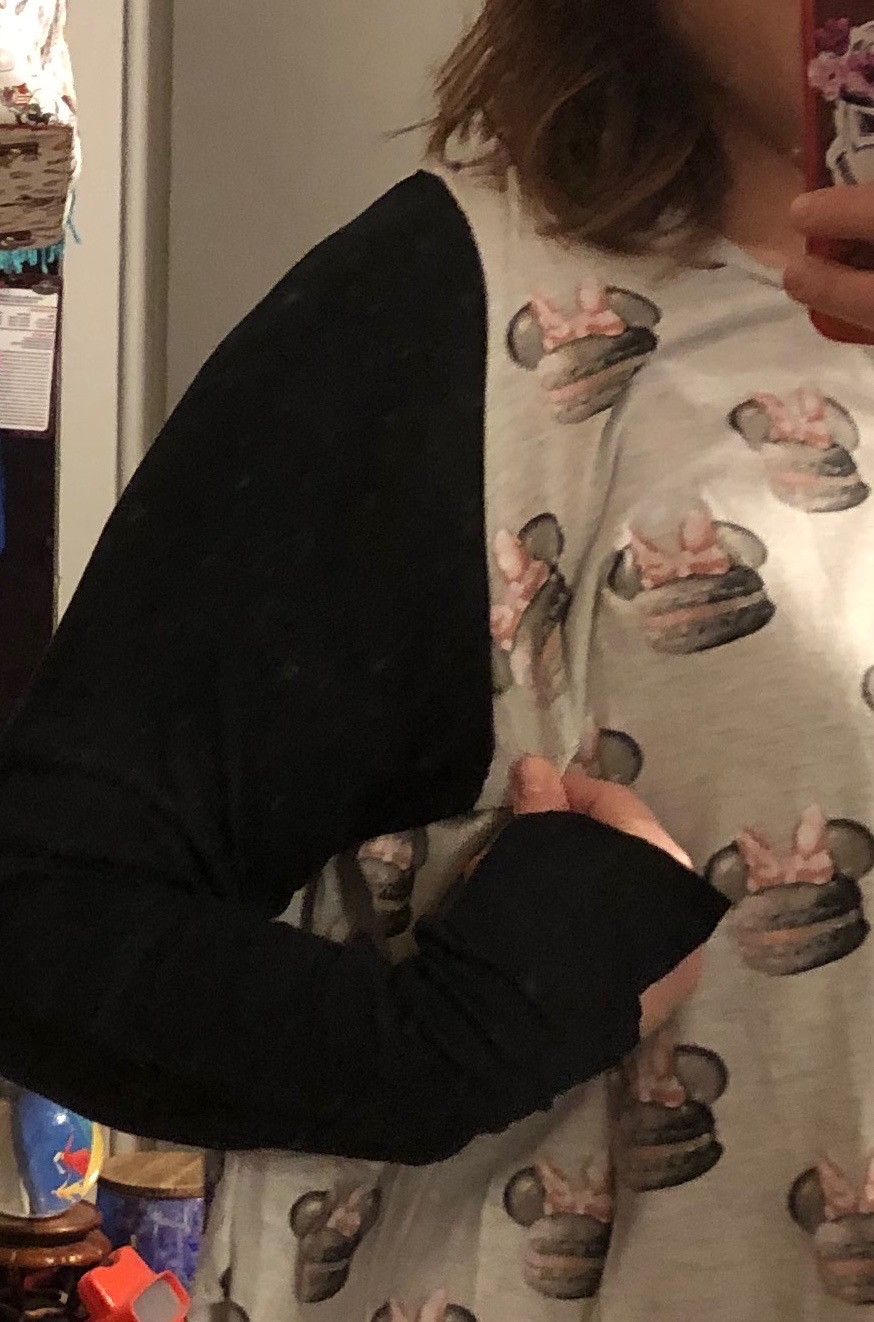
With the body inside-out and the arms right-side-out, pin the arms to the armholes, right sides together, making sure that your bottom seams match the middle of the armpit, and the tops of the sleeves match with the shoulder seams. Sew and try on your (almost finished!) shirt. I noticed that, because all I’m doing is guesstimating with stretchy fabric, I had a bit of extra fabric in the armpits, so I sewed another seam to make less fabric in the under-arm. I did this by turning the shirt inside out, and folding at the existing armpit seam. Next I pinned the fabric together, because they are stretchy and different shapes, and sewed, tapering out and back in, creating a sort of crescent moon shape. After trying it on again and being satisfied with the result, I chopped off that extra fabric with my rotary cutter.
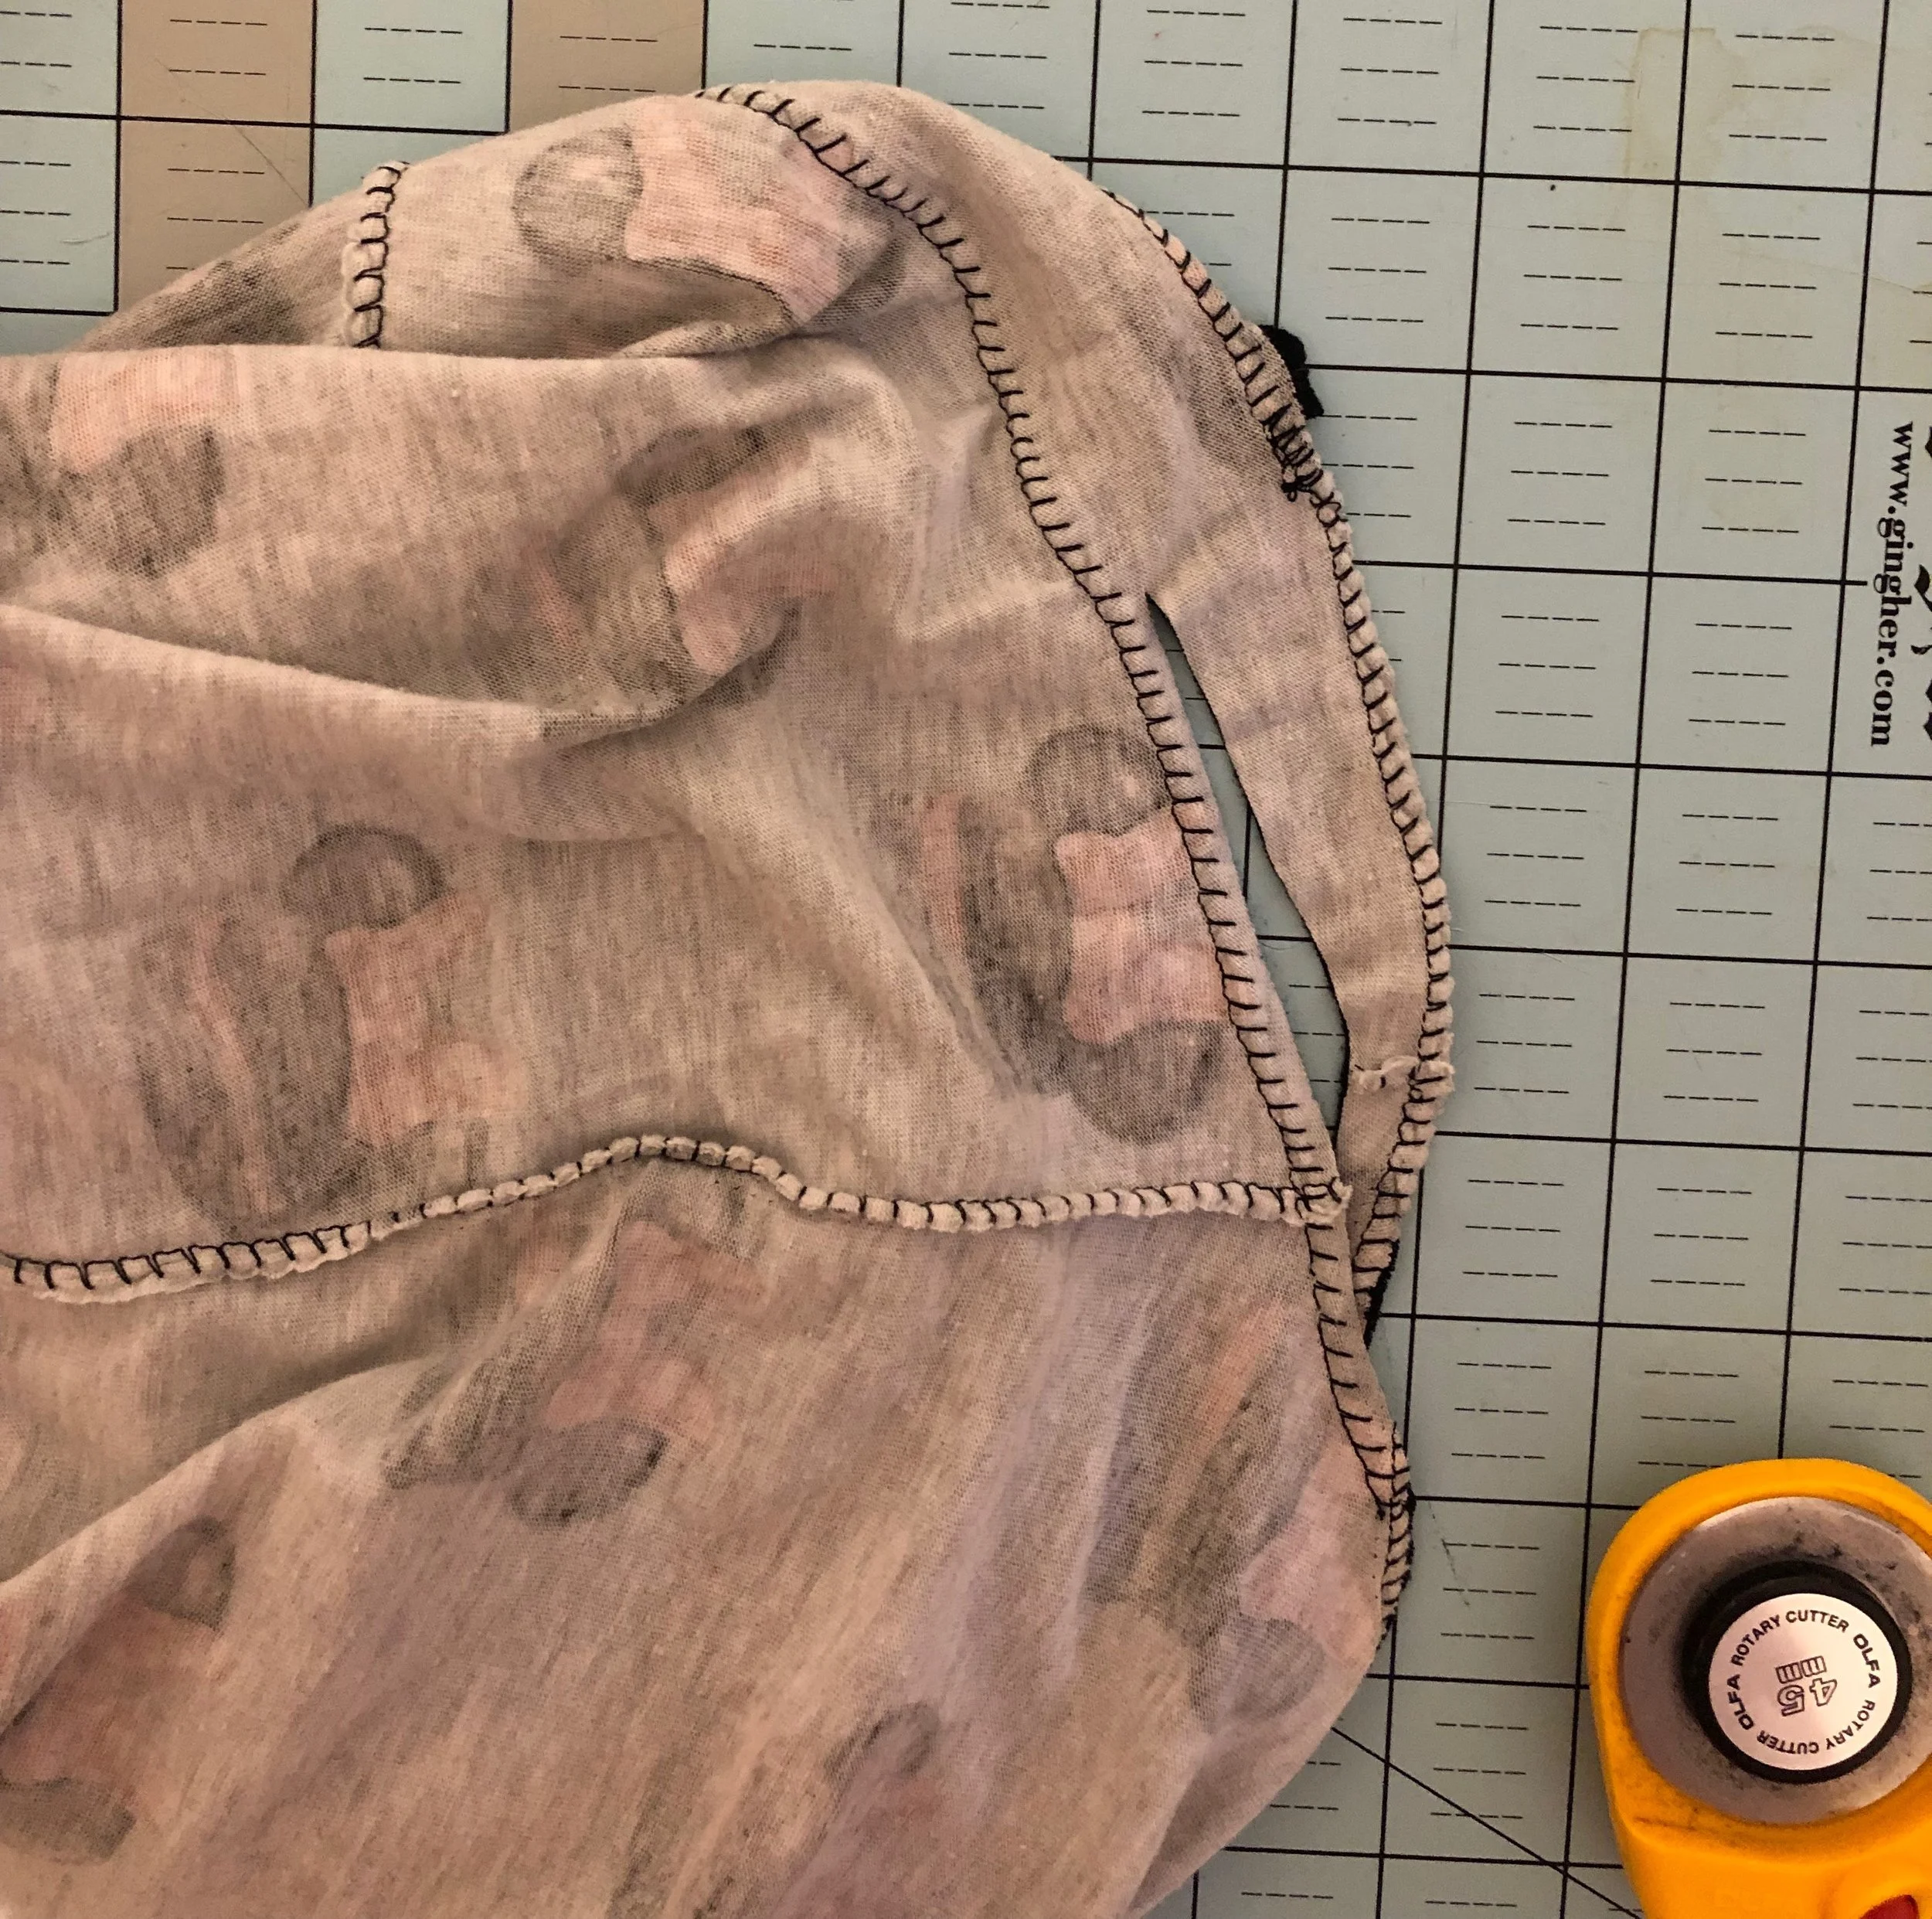
Step Five: Attach wrist bands.
Decide how long you want your sleeves and trim accordingly (take into account your wristbands if you have them, and seam allowance). Pin right sides together, by having sleeves right-side-out and wristbands inside-out, and sew.
Step Six: Finish hem.
Depending on how the original hem was finished, your step six may look different than mine, but because of the way my original shirt was finished, I just had to even out the extra panels I added, and stitch along the bottom (because this knit fabric doesn’t fray - woohoo!). I could have tried to match the thread color to the light grey that already was on the shirt, but I decided to just do a line of black all the way around instead - a cute little accent that matches my sleeves!
And voila! I’ve got a fun, versatile and unique Disney shirt. I can lounge in it, I can wear it to the parks, or I can pair it with some jeans and still be presentable. In the past, before I started sewing, I’ve passed on buying shirts that were too small or too big despite being in love with the fabric. Now, I can choose to create something instead.
Note: This shirt isn’t necessarily perfect - I could still be working on this, especially step four, tweaking it constantly if I let my perfectionist tendencies take over, but because it’s drapey and stretchy, I’m totally okay with the imperfections.
Happy crafty new year!