

A Classy Ragdoll Dress
The back cutout detail is my favorite! 😍
I love dressing up. Both in fancy things and in costume-y things. But I also know that realistically I don’t need a closet full of Disney costumes (unfortunately), so I try to find ways to combine my nerdiness with my need for functional clothing, and my latest attempt is a knit version of the Belladone Dress by Deer and Doe. It’s funny the way I get ideas, too. This was spurred by the fact that Facebook advertized some cute Sally (from Nightmare Before Christmas) leggings, but they were only available in kids sizes! Thanks a lot, Facebook.
Anyway, it sent me down a little bit of a rabbit hole, in which I contemplated if I would really wear those leggings enough to search and search, or if I’d rather make something. The answer is almost always making something. And again, Spoonflower to the rescue! They had some beautiful fabric called “ragdoll scraps” which would work perfectly. They had a small and large version, and I went with the larger one. I also have had the Belladone pattern laying around for over a year, and I love the back cutout detail, so I decided to go in that direction. While it might not be an everyday dress with the fabric I picked, it would definitely be more than just a Halloween or Comic Con outfit.
Choosing the fabric type was a bit trickier. With the sampler pack I got from Spoonflower, I was looking for something sturdy, comfortable, and not too thin. I also wanted something with a bit of drape, because I like to twirl. Even though the pattern calls for woven fabrics, I decided to go with the Organic Cotton Knit. It’s not crazy stretchy like jersey, and it’s thicker, too. If I got lucky, maybe I wouldn’t even need a zipper! Will I ever do a pattern exactly how the instructions tell me to? We may never know 😉
I got to cutting, and (just like the other Deer and Doe patterns I’ve done), the instructions were well made, and the dress started to come together well. The darts were a little funny since I used stretchy fabric and a zig zag stitch, but I’m probably the only one who will notice that.
This pattern was the first time I ever did this type of armhole and neckline binding with bias tape. I got thin double fold black bias tape, but I think I probably could have just done single fold. It would be slightly less bulky, but I’m actually quite pleased with how these turned out, especially for my first try!


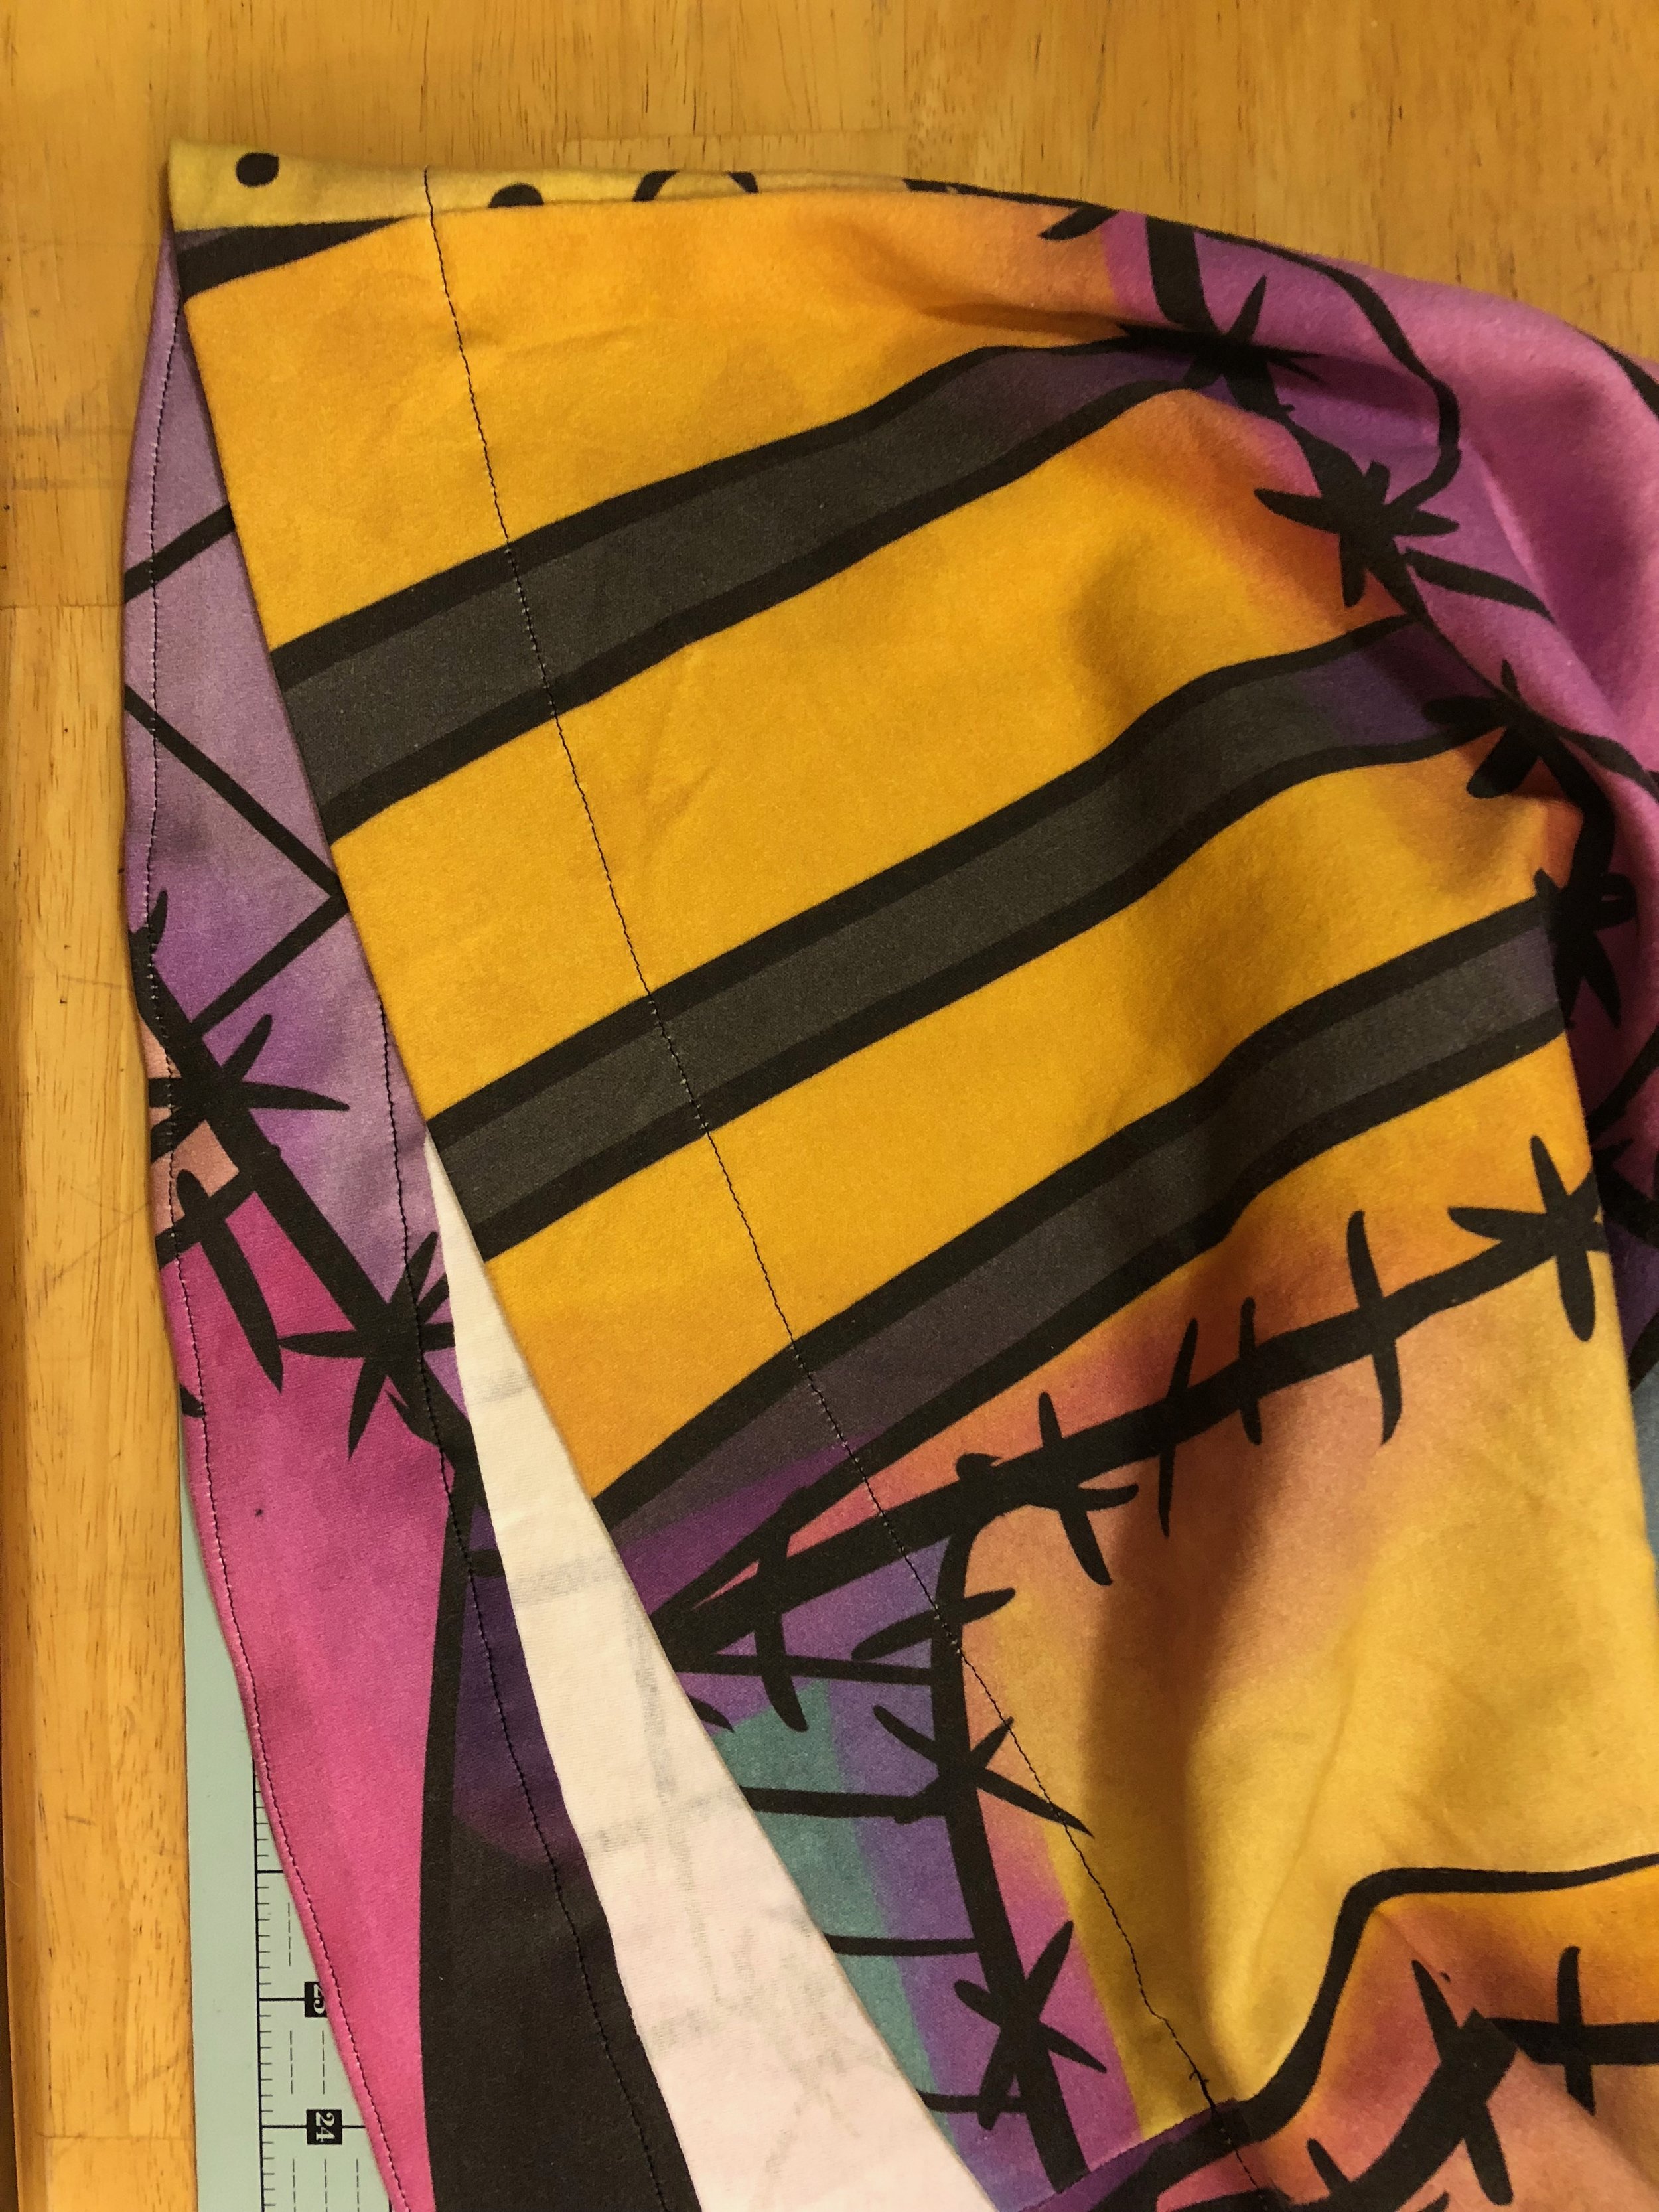
At a certain point, you get to where you can kind of put the dress on like an apron, and when I did that I noticed it was BIG! But it’s probably because the fabric I used has stretch, but the pattern calls for woven, non-stretchy fabric. So, wearing the dress like an apron, I grabbed the fabric behind my back and figured out how much extra there was. I pinned the dress back right sides together, and sewed a seam about 1.5 inches from the edge of the fabric. I went down only as far as below the waistband (in case I didn’t like it), and pulled it over my head. It fit great! And without a zipper! Woohoo! I then finished the back seam, tapering out to the edge of the fabric to keep the skirt nice and full.
The hem is not your standard hem - it uses a facing. I don’t really know why you’d choose one over the other (maybe a decorative touch?), but I liked the method, and it seems to give the skirt a bit more body? I don’t know. It looks good, though. A normal hem would probably work in a pinch, though. I also decided to do a top stitch, rather than an invisible stitch, to finish the facing/hem. Because Sally’s dress is made of scraps, and she is literally all sewn together, I figured a black visible seam would compliment the outfit nicely.
I decided to finish the outfit with a bow headband - Sally has red hair and I had some leftover burgundy velvet from another project that would be a fun accent.

Photo by Maddie Camilli
Put it with some burgundy boots and you’ve got a dapper Sally costume!


