

A Flirty Experiment with the Tania Culottes
The two other Tania Culottes I've sewn
I love twirly skirts. Stating the obvious, I know. But I also hate chafing, and I will probably never have a thigh gap (#strongnotskinny). When I found the Tania Culottes pattern from Megan Nielsen, I was instantly smitten, and whipped up a couple pairs - one for the Renaissance Festival and one for Disney World - both very fun, but hot, places.
We’ve got some good friends who had a fancy wedding last weekend, and, because I’m crazy, I decided to make something to wear. It’s funny, though - when you’re trying to figure out what to make for an event, especially something semi-formal, it can be daunting. It’s like when you go shopping and you’re not sure what you want, but you only need ONE THING, and you just can’t find that thing. Until it just kind of smacks you in the face.
Billiabong inspiration
At my last haircut another hairdresser at the salon had these awesome Billabong pants (called the Adventure Spirit Pants - looks like they’re out of stock now, though) that were long and flowy with giant slits up each side, and for some reason that just seemed like the right kind of piece to wear to this wedding. Given the right fabric, dressing them up would be no problem.
I brainstormed for a bit about what kind of fabric to get - do I do a stretchy jersey or something fancier? And what about the pattern? While I think I could have mostly winged it and made up my own pattern, if it's a fancy wedding, I wanted to make sure I looked as good as possible, too (especially since hubby was best man, so he looked amazing). I started by Googling around for wide-legged pants patterns, and then something popped up that reminded me of the culotte pattern I already bought, and then I had it! I would modify the Tania Culottes to make the leg pieces wider so they would overlap, leaving me with something that twirls beautifully, but still has the flirty slits up the leg.
You might have noticed that the longest this pattern is is a midi length, but I’m actually pretty happy with that. Since it was a summer wedding, it was warm. And I’m clumsy, so I didn’t want tripping to be an issue.
The fabric selection just kind of fell into place, too. I’ve been really intrigued by Rifle Paper Co.’s fabrics, but didn’t have a specific purpose for the fabric yet, so I didn’t want to splurge prematurely. But then a blog by Fancy Tiger Crafts popped up on my Facebook feed that had a shirt made out of some beautiful burgundy floral rayon (they still have a coral color) that I knew would be perfect. After checking with the bride to see what color her bridesmaids were wearing (to make sure burgundy was a safe choice - not that she would have really cared, though), and noticing that there were only 5 yards left in stock, I decided to get all 5 yards (it’s only 45” fabric, and I modified the pattern to be bigger and use more than the required 3.75 yards PLUS I made a matching headband). Plus the shop is just in Denver, so I opted to go pick it up myself, rather than pay for shipping. And then hubs and I had a date at the nearby Pinche Tacos to make the trip to Denver even more worthwhile.
Now for the fun part 😉
One of the best things about this pattern is how simple and straightforward it is. It’s really not that much more difficult than a circle skirt.
I only deviated from the pattern a few times:
- I extended the leg pieces by about 3 inches and rounded the bottom corners quite a bit.
- I didn’t sew up the sides so I could have the overlap and the leg slits. I did have to finish/hem a few inches of the top of each leg piece where it meets the waistband at the side BEFORE attaching it to the waistband, so I wouldn’t have any weird, non-hemmed places where the fabric pieces meet.
- I made the back waistband into two pieces, adding a 5/8 inch seam allowance.
- I moved the zipper from the side to the back of the garment since I left the legs open. This was a little tricky since there’s a box pleat in both front and back. I ended up sewing up the two pieces as if I weren’t putting a zipper there, pressing, and then taking out the seam. I then attached the zipper where I pressed the pleat on each side.


Sidenote: when I got this printed at the copy shop, I came home and started measuring, and I noticed that the two waistband pieces were different heights, by about ⅛ inch! I contacted the shop, but decided to go ahead with the project, lengthening a couple pieces just a hair. I just wanted to let you guys know! I had never used the copy shop or long version before, so I had never noticed! The support at Megan Nielsen’s was great, though, and they just released an updated version of the pattern (which has pockets!), so perhaps it’s less of an issue now.


When attaching the waistband, it says to enclose the raw edges, but didn’t say to make sure the raw edges were facing up toward the waistband when I put in the zipper, so I had to clip and I have the slightest bit of exposed raw edge (so little it’ll only be me who notices it). Also, I ended up breaking two invisible zippers trying to follow these instructions. The first time it was because the pattern didn’t say where to put the top of the zipper, and I ended up cutting off the small pieces that stop the zipper at the top. I had a small panic attack because I was temporarily stuck in these pants and didn’t want to destroy them. The second invisible zipper broke because getting it past where the waistband and leg pieces meet was INCREDIBLY difficult (I probably put the zipper just a tad too close for ease), and the zipper ended up splitting, and hubby had to pry me out of them (again). This second zipper fiasco was due to me doing *too* good of a job making the zipper invisible, not due to the pattern/instructions themselves, but I would recommend using a different zipper insertion method (and even waistband attachment, like this video shows). I find it to be a cleaner looking, simpler insertion.
The third zipper I used was just an all purpose zipper by Coats & Clark in Barberry Red, which perfectly matches the fabric, so it doesn’t actually look bad at all. It’s probably a blessing in disguise because the second zipper I could not zip or unzip by myself, which would have made going to the bathroom really annoying. I guess third time’s the charm, because this zipper works great 😉
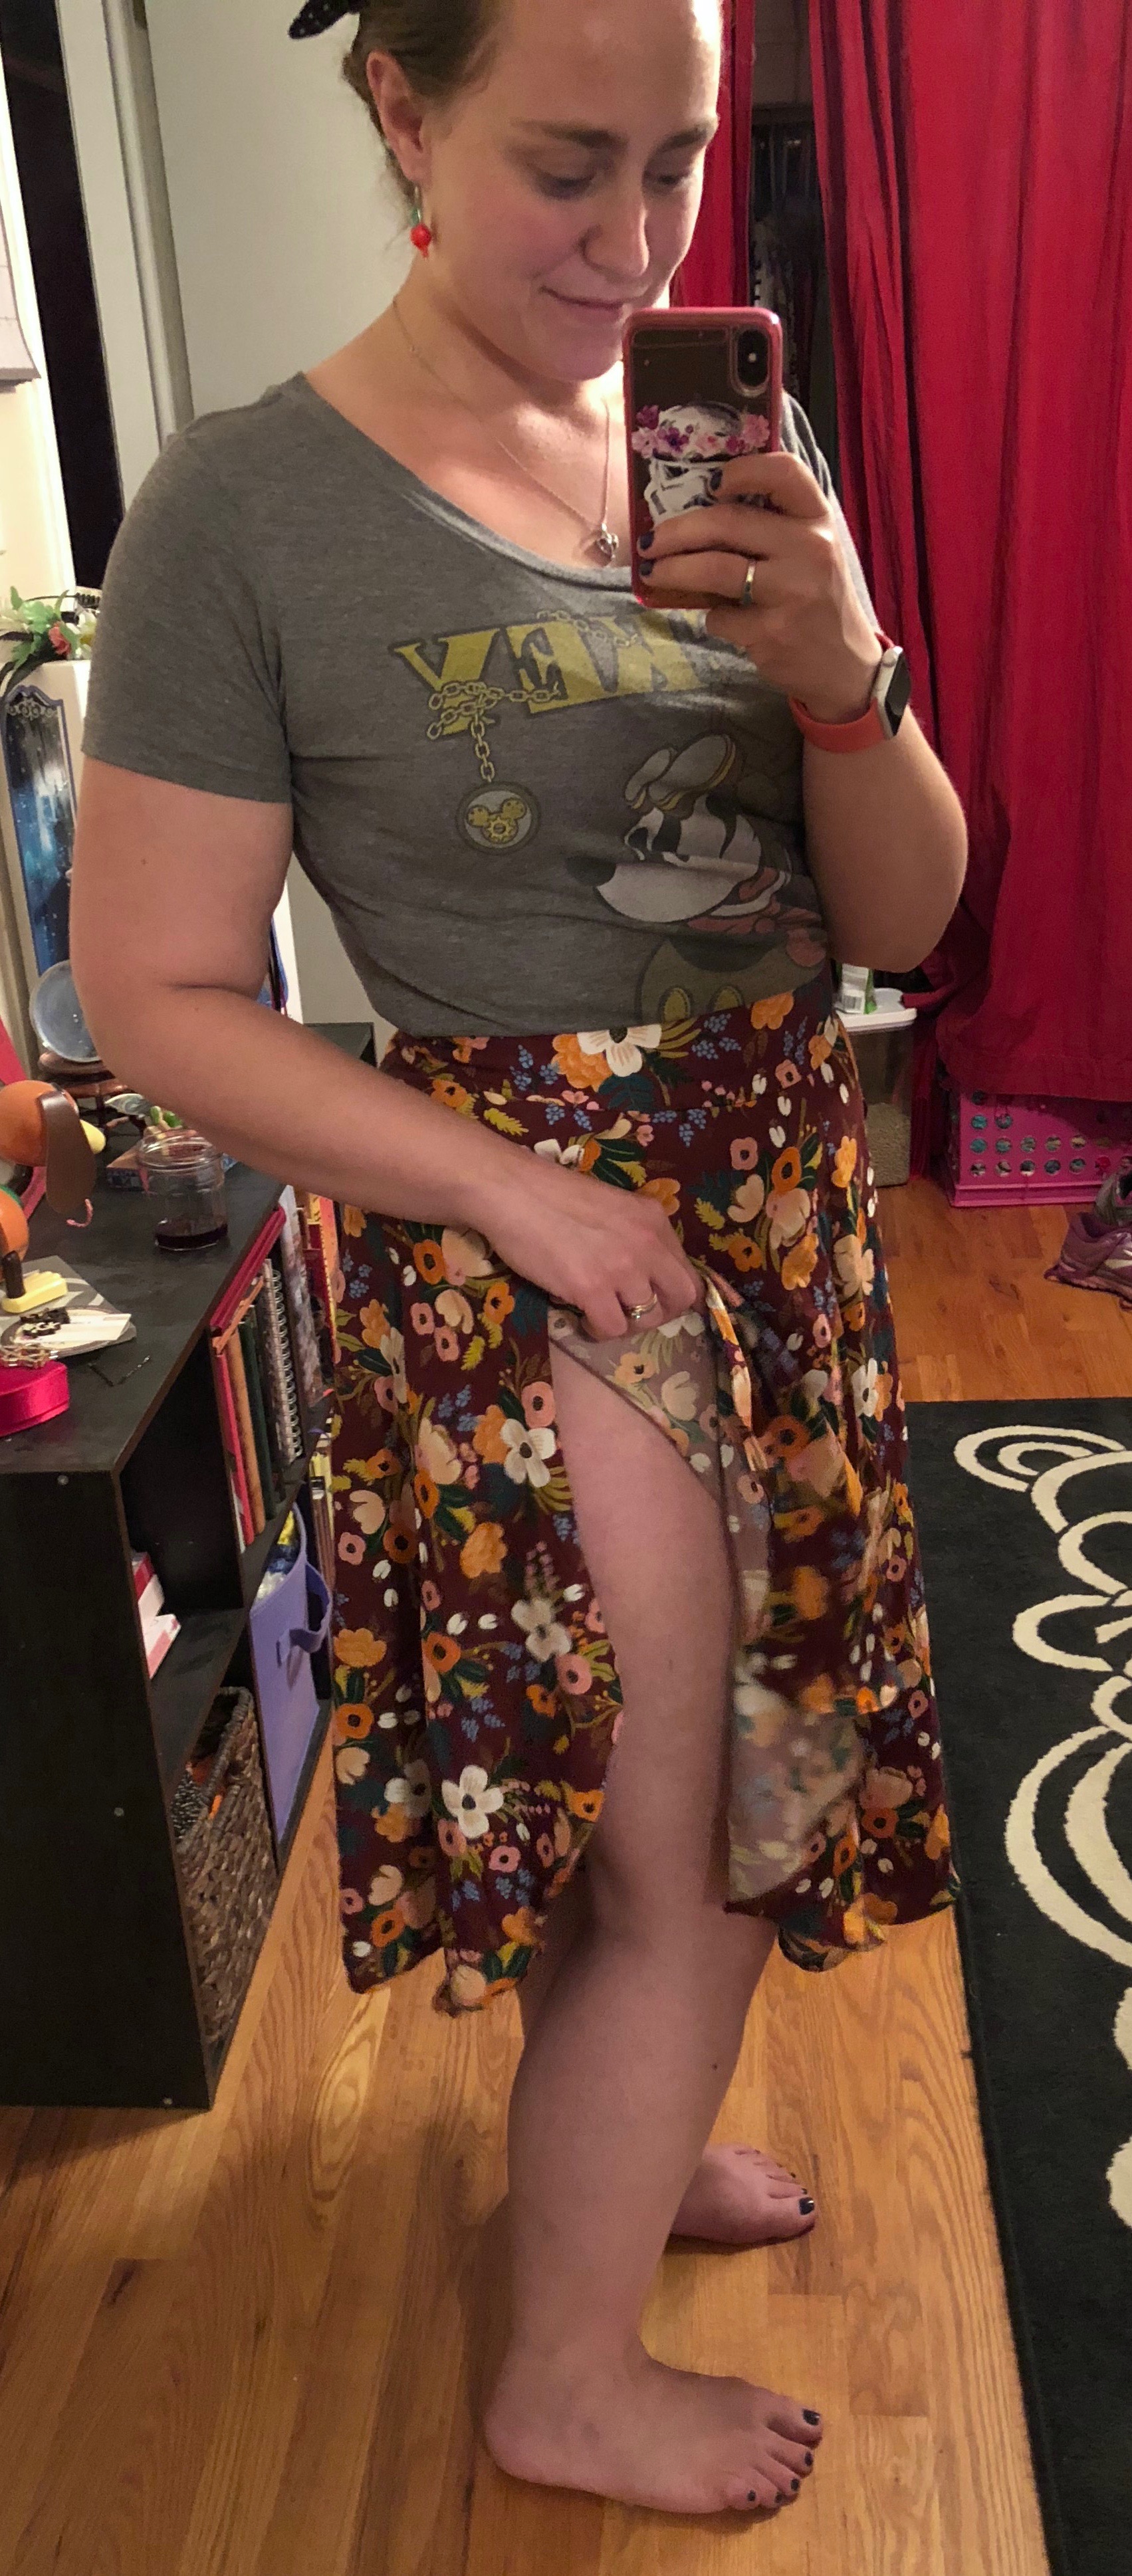
Top is the My Way Bodysuit from Free People. Shoes are old Steve Maddens. Necklace and earrings are meteorite from Nature's Own
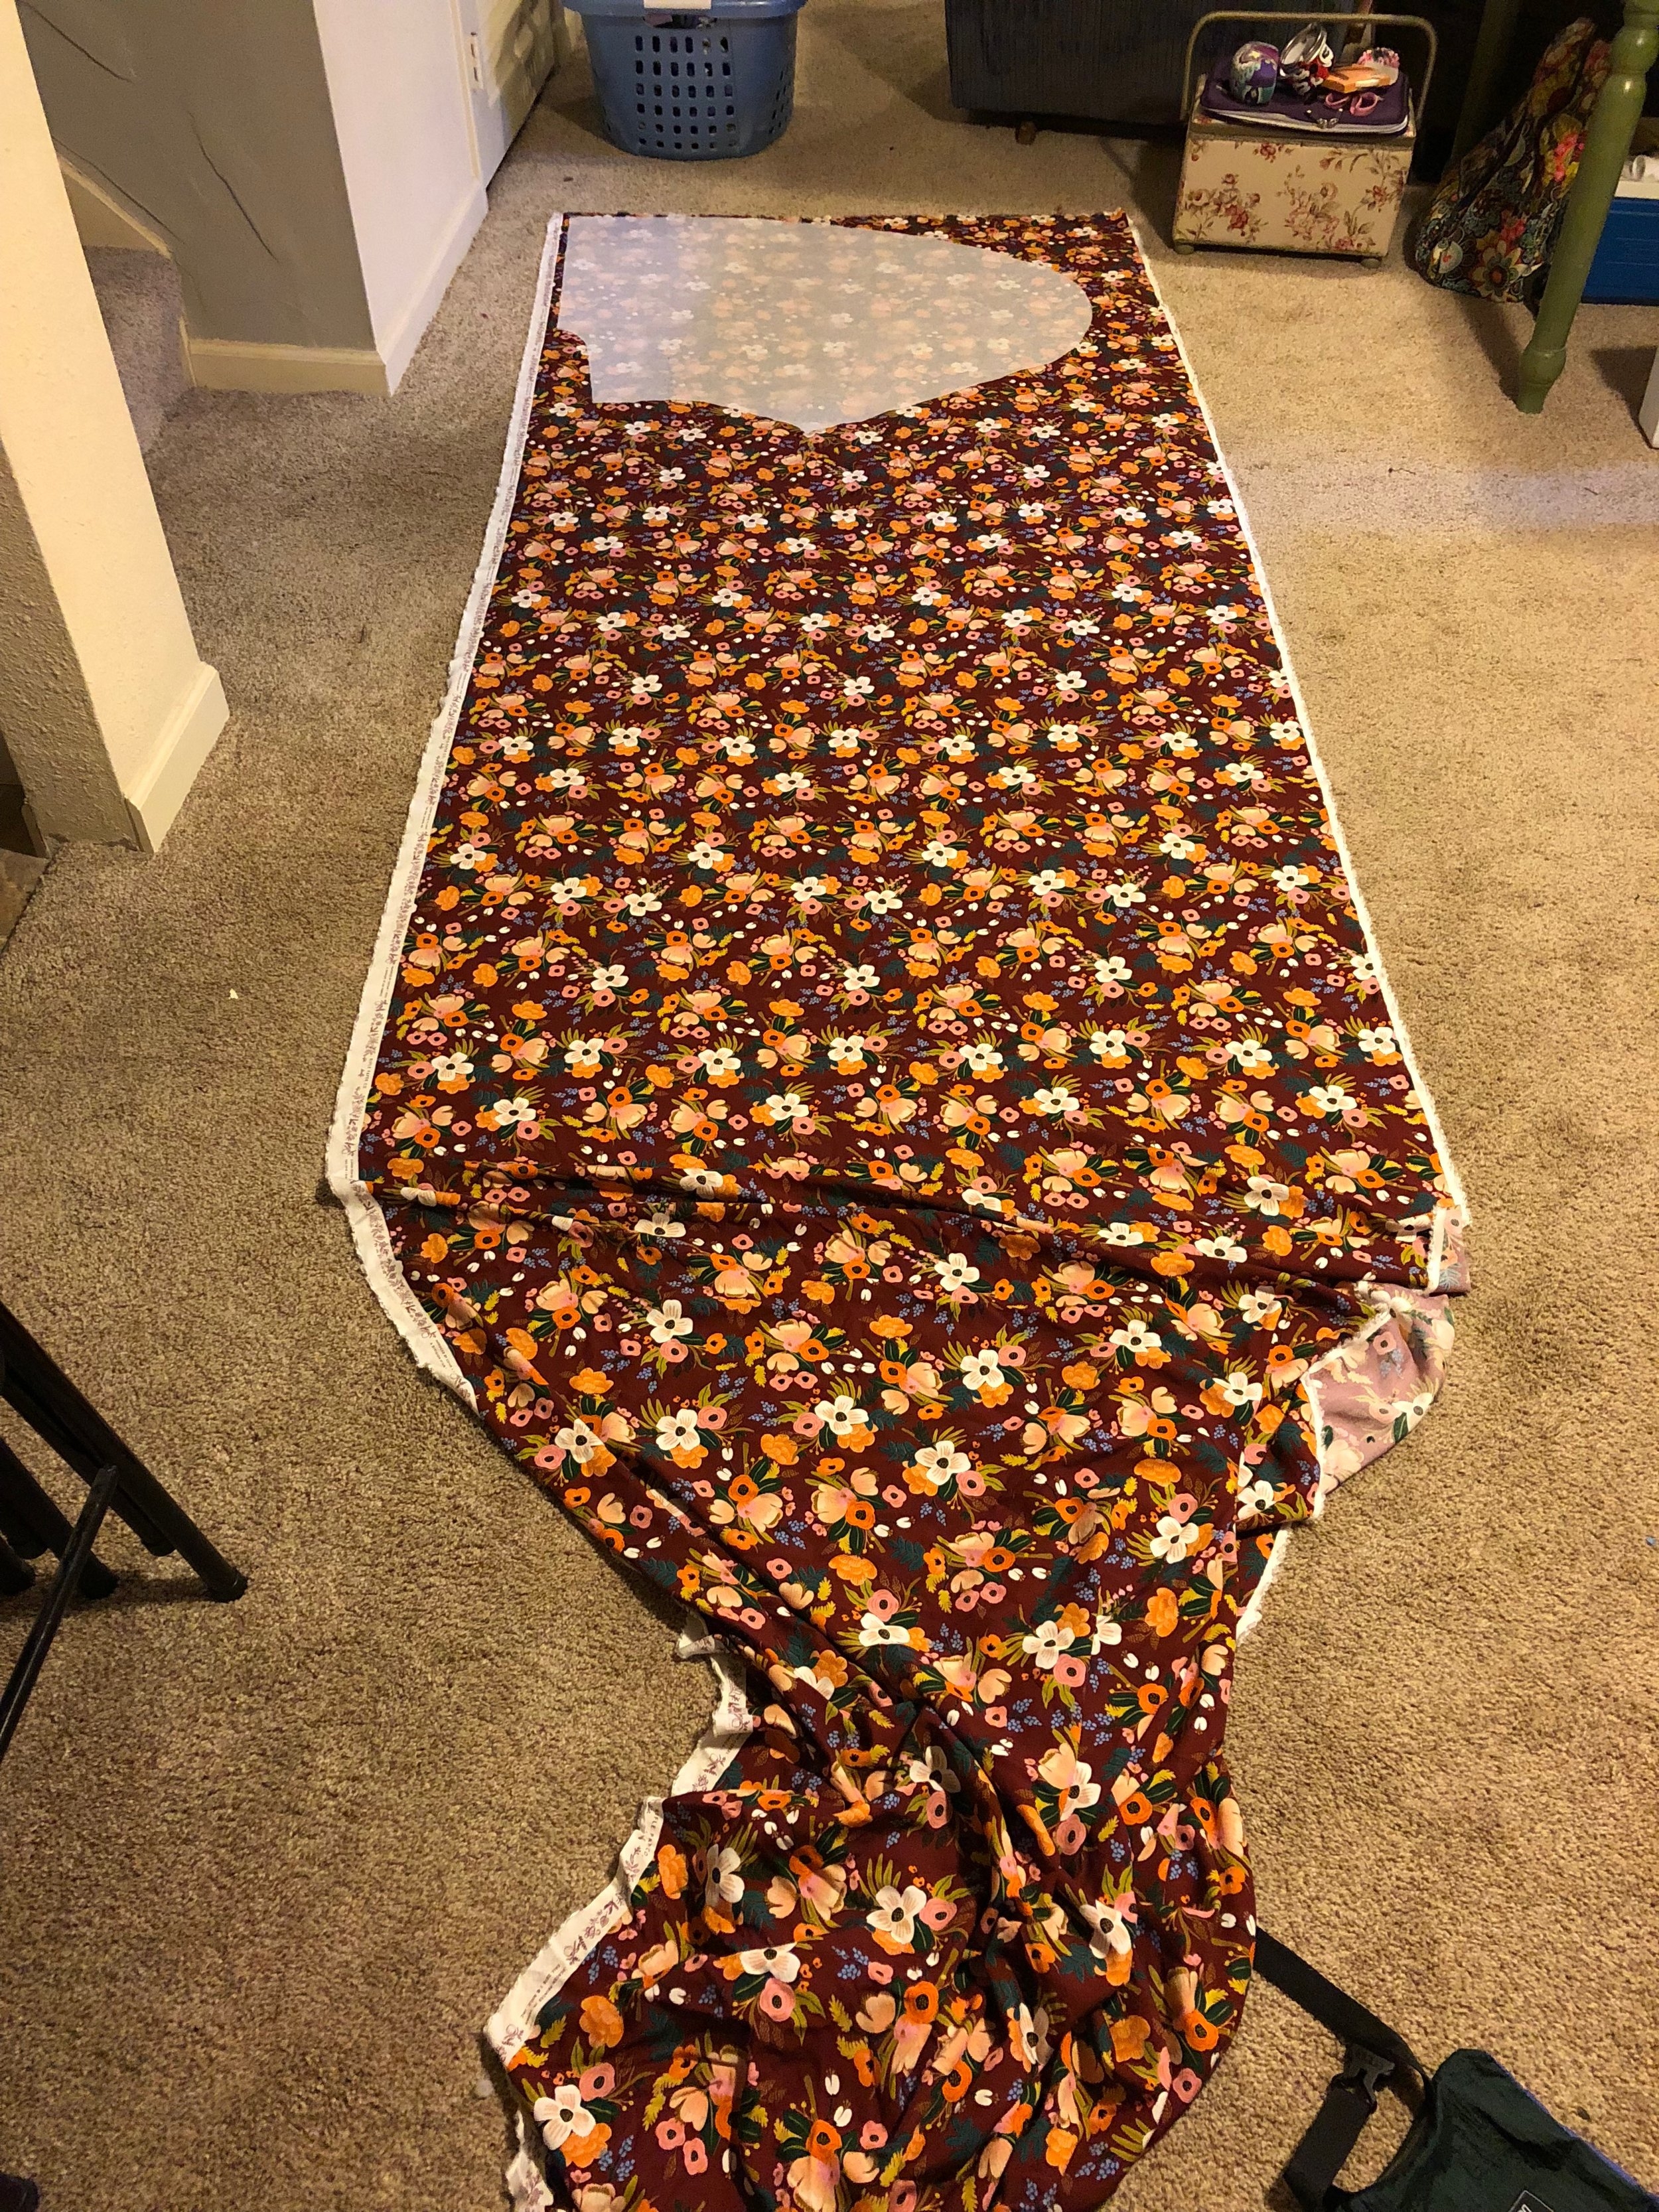
After putting a piece like this together, it’s a good idea to let it hang before you hem it. Because it’s so full, the fabric will settle since some of it hangs on the bias and some hangs with the grain. I also ended up shortening the culottes by about 5 inches, and taking in the front leg pieces on the side to make the slit just a little more flirty. They now hit just below the knee, and when I twirl you get a slight flash of leg. Getting the hem even was tougher than I anticipated, though. Because I’m self-taught, I don’t know many tricks to the trade that are probably no-brainers for those trained properly. I ended up laying the culottes on the floor (on my cutting mat) and lining up the pieces as best as I could, and, using my rotary cutter, chopping off those 5 inches I didn’t want. I tried them on again, found some small inconsistencies, and repeated the process. I also made the front panels slightly less wide at the bottom using this method. When laying out the culottes on the ground, I did so as carefully as possible. The box pleats make it so you can’t do it 100% perfectly (since the whole panels don’t lay flat), so I wanted to make any cut extremely deliberate.
Once I was happy with the length and the amount of leg I was flashing, it was time to hem! I did a rolled hem for the first time ever, and I am very happy with the results. However, be warned that it takes a while, especially for something as full as these culottes, which were almost like a circle skirt around each leg! That’s a lot to hem! There are such things as rolled hem feet for sewing machines, but I don’t have one, and couldn’t decide which one to buy, so I did it the long way. It’s not hard, though! Just LONG. Megan Nielsen has a good tutorial, which I will abbreviate, just to give you a sense of how time consuming it will be.
This is step 4 of the rolled hem
- Make a seam ¼” from the edge of the fabric.
- Press along that seam.
- Make a seam ⅛” from the press you just made.
- Cut off as much excess fabric next to that seam as you can.
- Press so the raw edge is enclosed.
- Sew through the center of the rolled hem.
The result is lovely, though. I am honestly amazed at how much a finished hem changes a garment. It’s magical. This rolled hem was totally worth the time it took.
I’m so pleased with how these turned out, in spite of all the zipper trouble, and they worked perfectly for the fancy wedding we went to.


