
Purple Overalls - The Wardrobe Staple I Never Knew I Needed
I’ve done my best to prioritize my sewing lately. It’s easy to procrastinate even the things that make you happy to either do the things you “should” do (like dishes and laundry) or to just veg out and watch Disney+ all day and night.
I also have a LOT of projects in my “queue”. So many that it can be hard to decide what’s next, and when I buy supplies for new projects, my excitement to start them is often outweighed by anxiety about what’s “important” enough to do next.
Last fall hubby and I went to Denver and had some time to kill and we went into Fancy Tiger Crafts. Going into a craft/hobby/fabric store without any specific agenda is always a bit of a scary adventure. You never know how much money you’ll end up spending. (Except I seem to have a really good knack for spending about $130 when I do it - so I don’t let myself do it often). I saw little kits with overall fasteners and I thought that maybe I should try that next - I’d been wanting overalls, but I don’t go shopping for clothes much anymore, and I much prefer making my clothes these days. I talked with one of the workers there, and she showed me a couple different options. One was a more traditional overall style and the other was the Burnside Bibs by Sew House 7. The worker had made a pair of the Burnsides for herself out of a linen-y fabric, and I was really drawn to the idea of some comfy overalls that didn’t have as much hardware. I was going to go for some grey fabric, but they ended up not having quite enough yardage, and I went with a purple, which I’m actually really ok with. I was originally drawn to the purple, but talked myself out of it because I didn’t think it’d be as versatile, but I guess fate wanted me to have purple overalls!
And of course, like most things, this project got shelved over the holiday season. Life got busy, other things took priority, but finally 2020 rolled around and I got tired of just having my fabric stash lay dormant when there were so many promising cuts just waiting to be something. Then the March Disneybound Challenge prompts for this year were released and I wanted to set myself a goal of having at least one handmade item in each outfit. However, to do this I’d have to re-wear a LOT (potentially limiting my options because of fewer colors available), dress fancier than I’d want, or get sewing. I chose to get sewing! I also decided to invest in a nice planner. I love writing things down and I figured a nice planner would not only help me plan my projects, but I could also reflect on my days and record things that happen. I’ve got a ton of lists on my phone, but I’m really looking forward to the physical paper and pen aspect of this new planner.
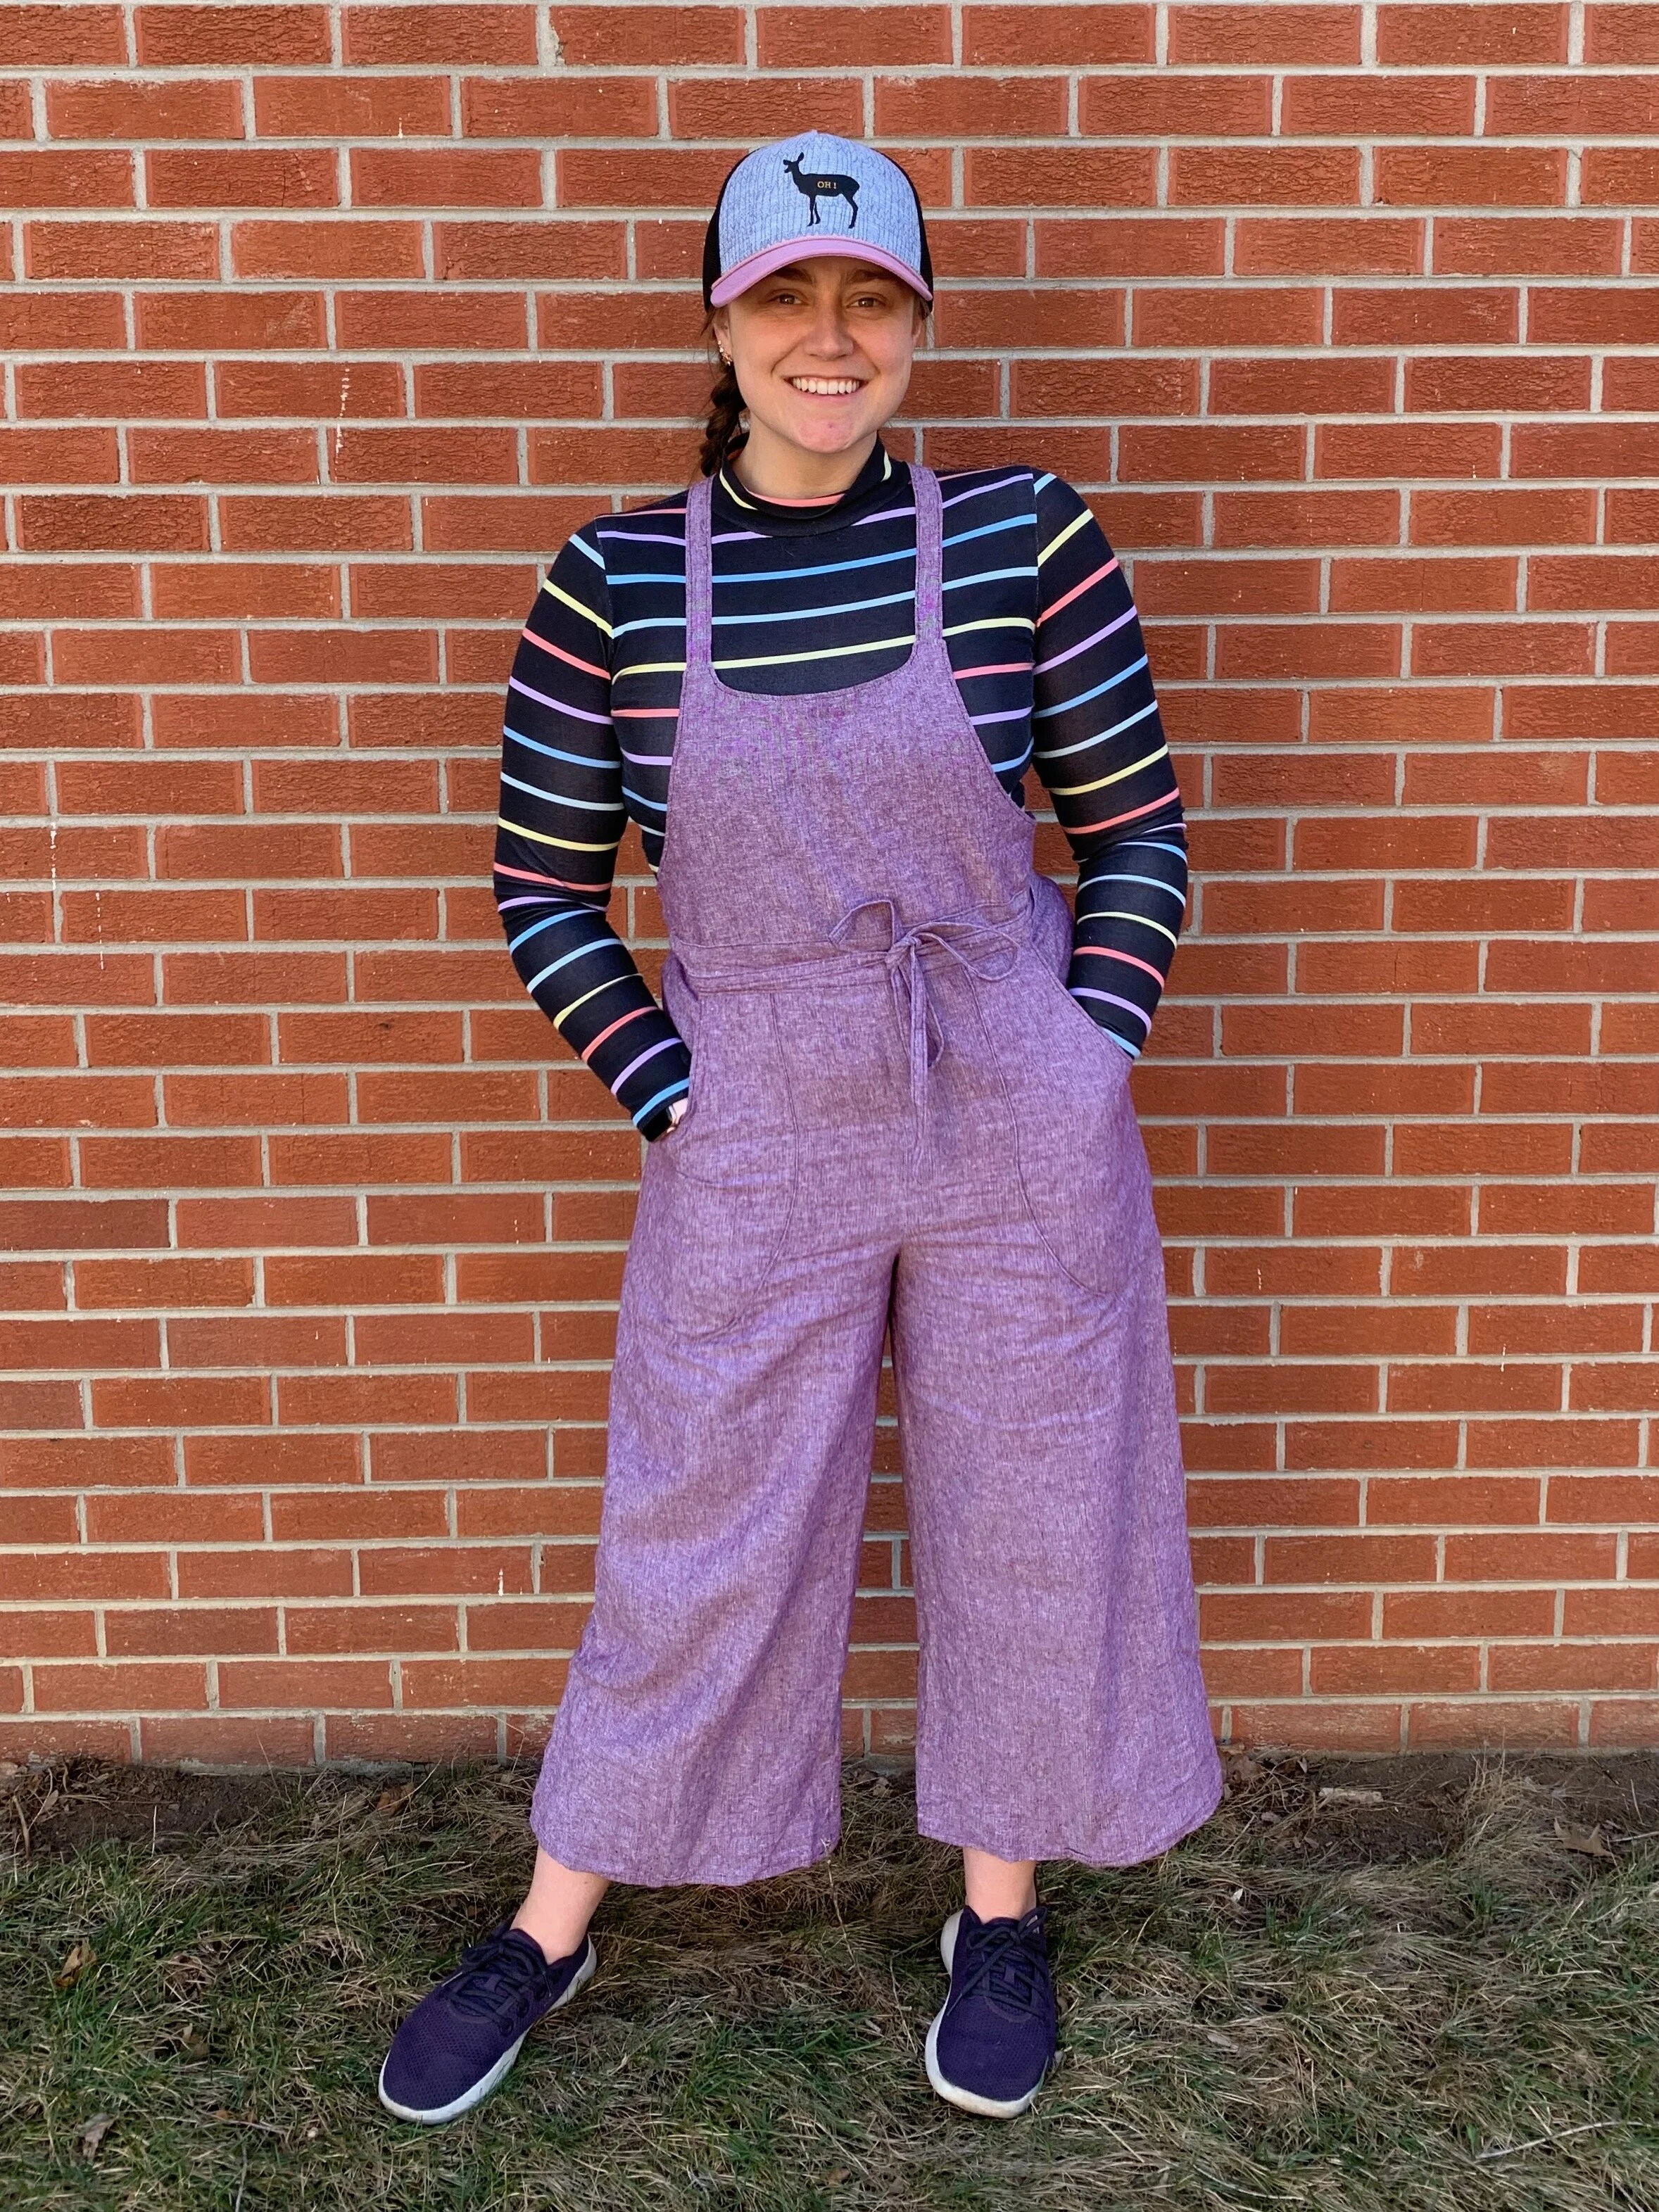
Anyway - back to the bibs. I got an actual paper pattern for this one (rather than a PDF). It comes on super thin tissue paper, and I always get nervous that I’m going to ruin it, but I managed to trace and cutout my pieces, keeping all the tissue paper completely in-tact. I don’t like to cut the actual pattern pieces that come with it because I’d like the option to make other sizes in the future, whether it be for myself or someone else. There are two versions - one with an invisible zipper, darts and back pockets, and one without those three things. They also come in a cropped length and a full length. I chose the cropped length (because I’m short anyway), and I decided on the more tailored version. Something to keep in mind with this pattern is that you want to make sure you’ve got enough room to pull it over your hips - especially in the version without the zipper. My waist measured two sizes smaller than my hips for this pattern, so (since they include finished garment measurements and I was making the version with the zipper) I decided to make the size in between, and it worked great for me. I can cinch the belt to fit my waist, and the hips fit just snugly enough to show off my curves.
This project was incredibly fun. The fabric I chose was super easy to work with, especially considering I’ve been working a lot with knits lately. It didn’t slip at all, which made pinning a breeze, and it pressed really nicely, too. I found the instructions easy to understand, and I think a determined beginner could totally do this, especially the version without the zipper.
Beautiful zipper insertion…just a hair to low!
I recently (finally) bought an invisible zipper foot, and I literally don’t know why I waited so long to get one. Installing this zipper was the easiest I’ve ever done, and while not perfect, I feel like with just a couple more invisible zipper installations, I’ll be there in no time. You can ever-so-slightly see the zipper at my hip, which I might be able to fix… I also installed the zipper too low, which meant that the very top of the seam at the waist did not come completely together. I could have taken the whole thing out, but by the time I realized how low it really was, there was no way I was ripping that thing apart. I was going to use a hook and eye closure, but then hubby had the idea of a button, which I let stew in my brain for a bit, and ultimately decided on. I created a small tab, ripped open the top part of the zipper, and attached the tab by turning the corner inside out again and sandwiching the tab between the zipper and the top layer of the waist. I put a buttonhole in the tab and attached a button, and it ended up super cute! A happy little accident.
Also, a while back hubby mentioned that he would make me wood buttons! While I didn’t think he’d be able to whip one out for these instantly, I mentioned that I’d love a button for this project. I was going to use a placeholder until he got around to making me one, but he surprised me with a pretty little Comatillo button! It looks SO GOOD, and I love that I can say he helped with this project!
Regarding the length, I’m glad I did the cropped version. The hem they describe in the booklet says to fold up ⅜” and then another inch, but I decided to just to fold up another ⅜” for the second one. The full length would have dragged on the floor and then some (again, short people probs), but these are a good length that hit right at my ankle. You’ll be able to see whatever shoes I wear, but you won’t be able to see much more, and I still would have the option of rolling them up a couple times if I wanted a shorter look one day.


I’m super pleased with how these turned out, and I can’t wait to wear them more as the weather warms up (though I definitely wore them with warm socks the other day when it was snowing!) Keep your eyes peeled for these during the March Disneybound Challenge - a cute piece like this will definitely make an appearance!!


