

Simple Gathered Skirt
There’s a cute little fabric shop in town that I don’t let myself go to too often because it is a bit out of my price range, and unless I’m trying to make something really nice (like my wedding dress or my velvet dress), I usually can’t justify spending that much on fabric.
But I do follow them on Instagram, and when they posted a picture of a linen they got in, I knew I had to check it out.
When Nathaniel and I went to Paris a couple years ago, we checked into our hotel and then went wandering around. It ended up pouring, and we found ourselves drenched, in front of the Moulin Rouge. We both love the movie, and I’ve always just kind of been enamored with Parisian style and the whimsical culture those super-duper curated Instagram photos convey, so when Elfriede’s got this Moulin Rouge linen in, I (thanks to the help of a gift card from my mother-in-law) splurged. It fades from black and white to color, and I just knew it would make a lovely skirt.
Feeling very Parisian with these stripes and a scarf from Disneyland Paris!
I’m a big fan of twirling, and I have made a handful of circle skirts (Timey-Wimey Dress, Mary Poppins, my wedding dress, among others) since I started sewing. I love the simplicity, and, especially when I was a beginner, the ease of just using an elastic waistband and the minimal number of seams was perfect. But this fabric, because of the black-and-white to color print, didn’t strike me as ideal for a circle skirt, so I decided to try my hand at a gathered skirt with a flat waistband and a zipper in back. Gathering has (thus far) kind of scared me because of it’s potential to be bulky and difficult to sew - I have no other good reasons 😜 - but this project seemed perfect to start with. I would still have a skirt full enough to twirl around (plus the drape of this linen is lovely).
Paired the skirt with lots of polka dots for this rainy day look
I really only took two measurements for this skirt - my waist and the length that I want it to be. For the length, I decided I wanted it to hit just below the knee, which for me was about 23” (woohoo team shortie!). When I was researching gathered skirts online, most tutorials said to cut 3 pieces - a front and two back, but I decided not to waste this beautiful (and somewhat expensive) fabric on seam allowances. I’ve included the sizes of the pieces I cut (approximately - with the gathered pieces, an inch or two difference in the gathered width shouldn’t make too much a difference). I decided my lining should be slightly shorter than the main fabric, so it doesn’t show. And while it is also a gathered piece, I didn’t think the lining needed to be as full as the main skirt. I also decided that I wanted my waistband to be 2” high, but you can make yours bigger or smaller depending on the look you’re going for. The ease in the waistband is so you can move, breathe, sit, live, etc…
- Prewash and iron your fabric.
- Cut your fabric pieces.
- Main fabric: 3(Waist) x (Length + 1.5” for SA & hem)
- Lining fabric: 2(Waist) x (Length - 2” + 1.5” for SA & hem)
- Waistband: (Waist + 1” ease + 1” for SA) x (2 x Height) + 1” for SA)
- Interfacing: (Waist + 1” ease) x Height
- Press the waistband in half lengthwise - this will make it much easier to line up your interfacing.
- Attach your interfacing - I used fusible interfacing.
- Gather the main fabric and the lining fabric, so they are as wide as your waistband - and leave 0.5” ungathered at each end to be the seam allowances. It might be beneficial to mark the ¼, ½, and ¾ marks of each piece, so you can keep your gathers as even as possible.
- My gathering method was to sew two seams with the longest stitch possible on my machine, and then grab the threads at the end of the seams on one side of the fabric and pull them - you will want to be gentle, because it is possible to break the thread, and then you’ll have to start over again (that’s why we’re using 2 seams - I’ve even seen some tutorials which recommend 3. I also know of people who can magically just gather on the go as they sew, but I am NOT ready for that 😜
- Pin the three pieces together - the right sides of the waistband and main fabric will be facing each other, and the lining will be oriented the same way as the main fabric (but it didn’t matter much for the lining fabric I got, as I couldn’t tell the right side from the wrong side 🙈). Also, you are only sewing one edge of the waistband right now!
- Sew the three pieces together. Press rough edges up toward waistband.
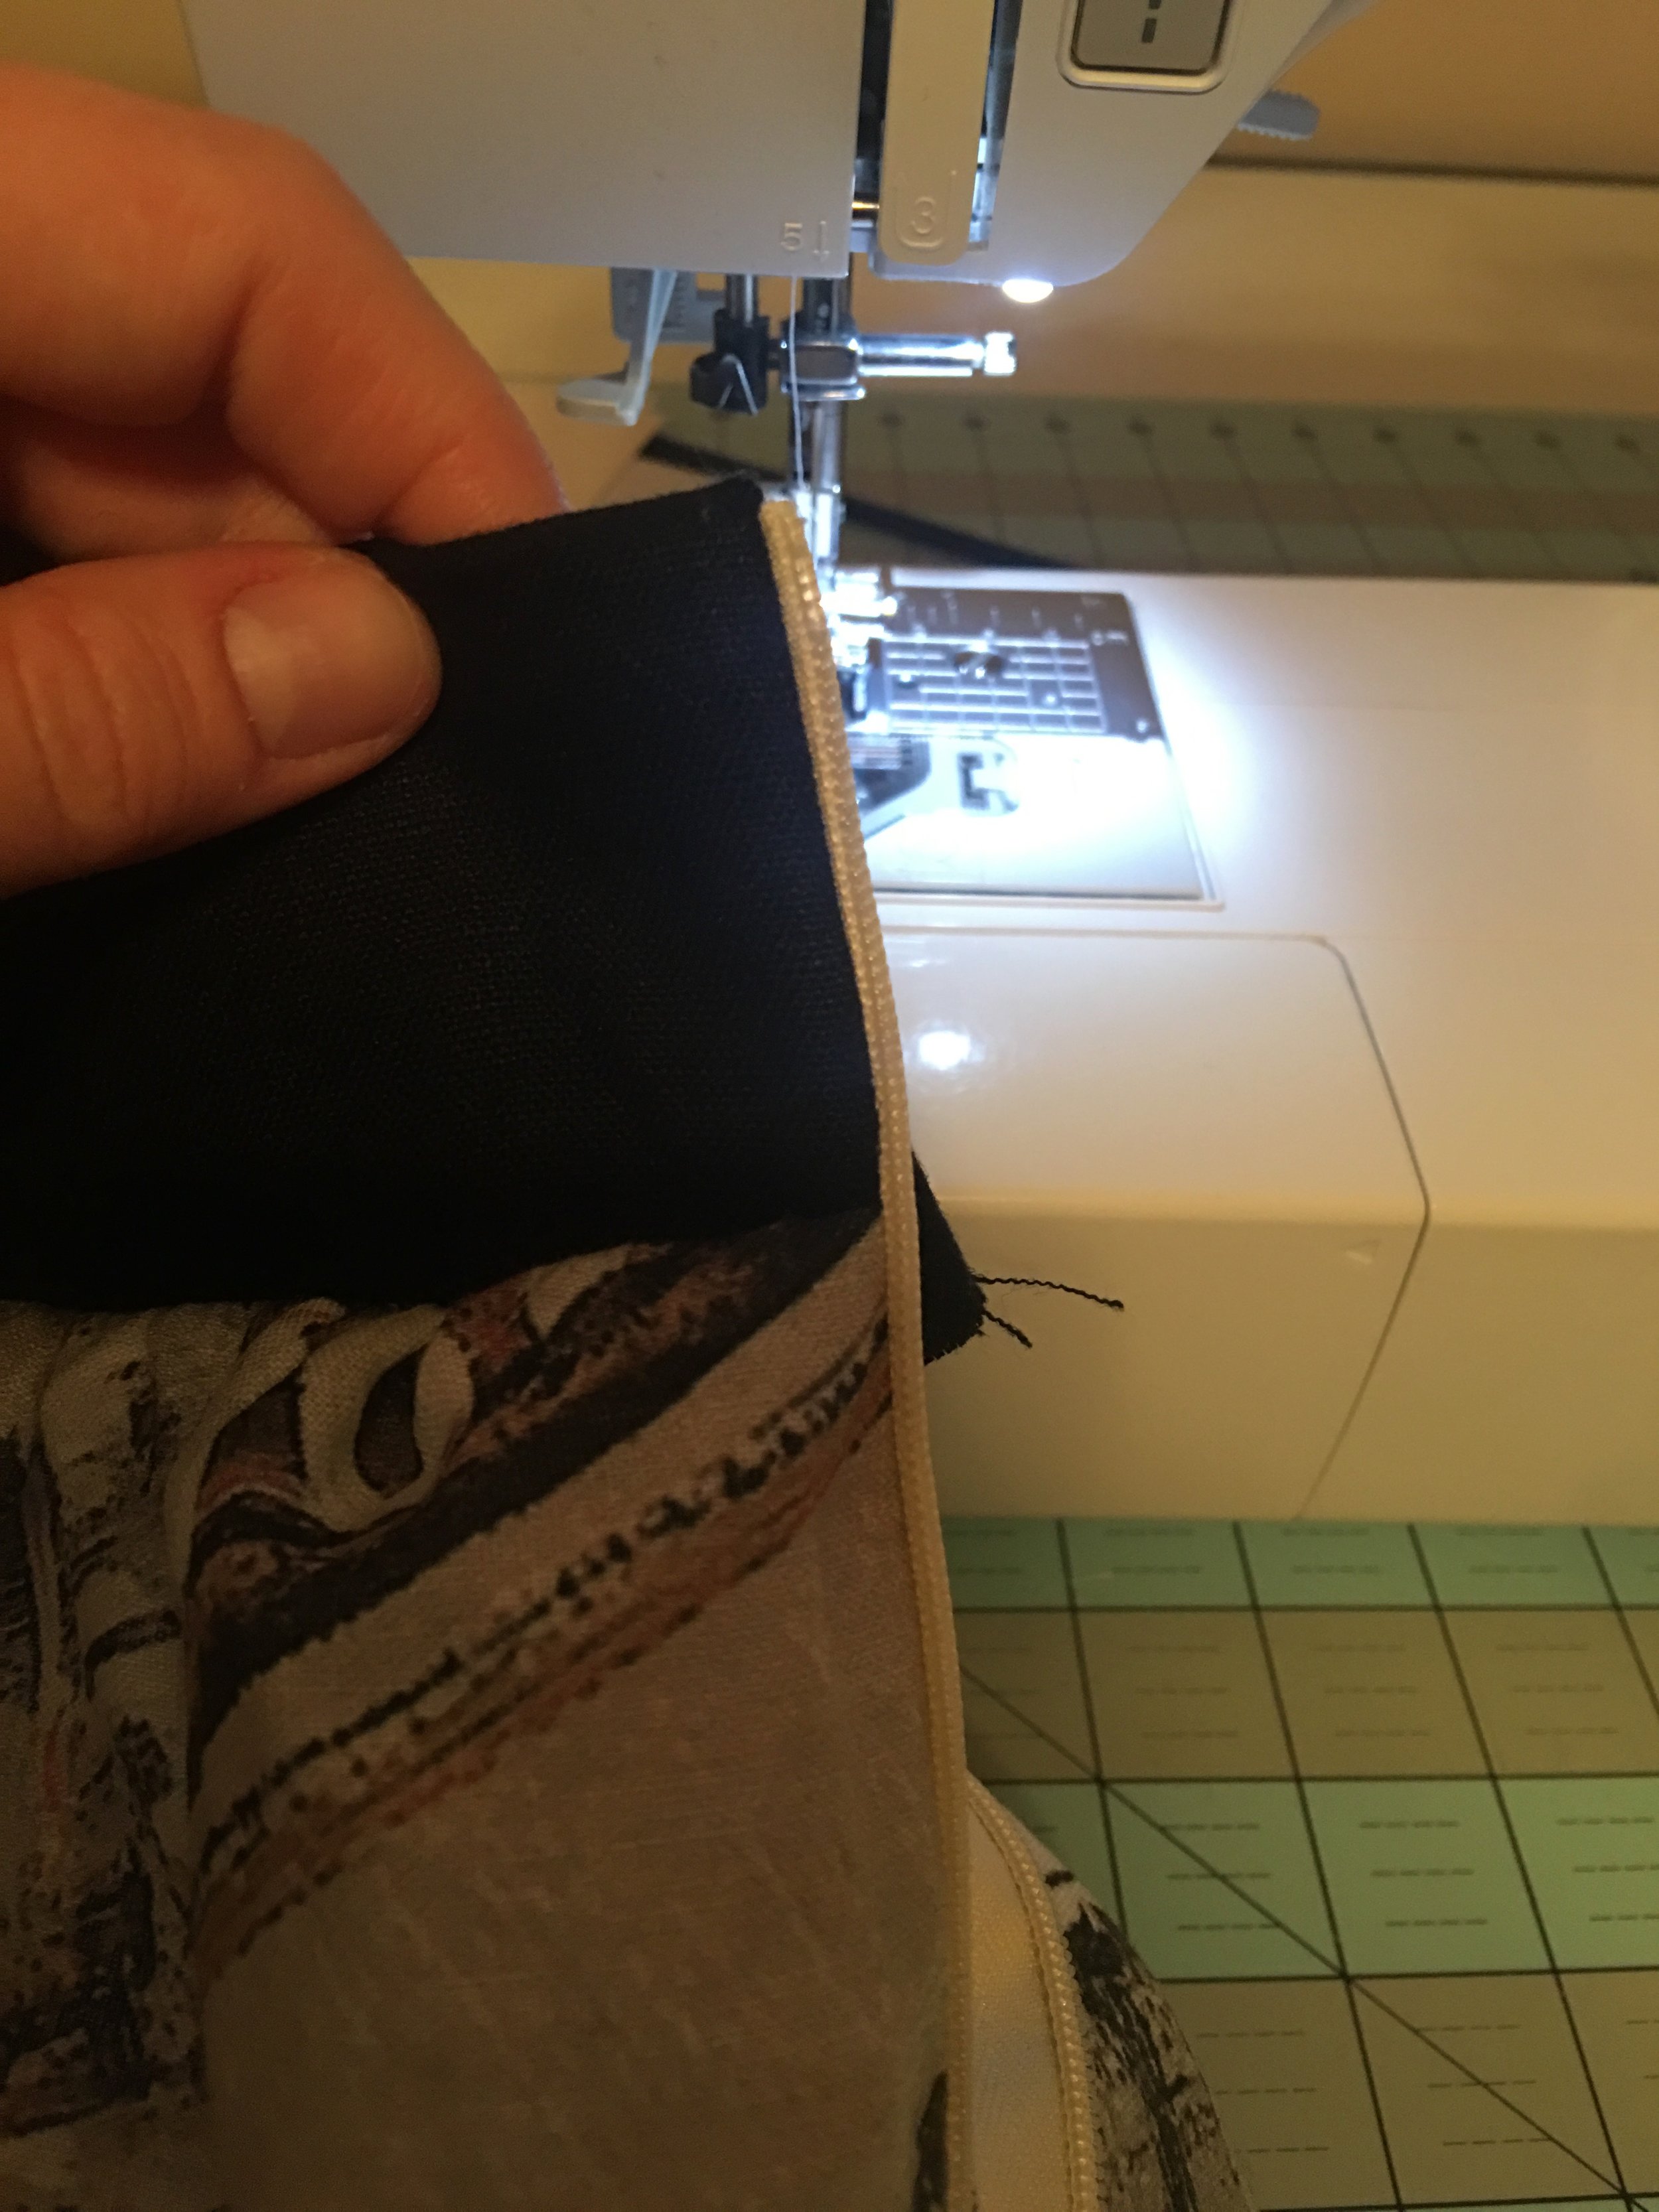
- Insert invisible zipper. Your main fabric and lining will both be attached to the zipper, but will be separated the rest of the way below the zipper (step 11).
- Finish top of zipper at the waistband (optional, insert hook and eye closure)
- Secure the waistband - you’ve got a couple options here. If you like the look of topstitching, you can have a visible seam on the waistband just above the gathers, or you can “stitch in the ditch”, which is what I decided to do. Basically, you’re sewing right where the gathers and the waistband meet, which hides this seam.
- Close the back of the skirt up. Do the lining separate from the main fabric. Press the seams.
- [Sort of optional] Hang the skirt overnight - the allows the fabric to settle, so you can see if the bottom of the skirt is even. This is more important for fabrics cut on the bias, but can’t hurt in this case, especially if you’re trying to make the bottom as even as possible.
- Hem the main fabric and the lining. I chose to do a double fold hem, but depending on the look you’re going for, feel free to play with other options.


Note: I did end up taking the waist in a couple inches (with folds in the back on either side of the zipper). I’m not sure if it’s because the fabric stretched, if I mis-measured my waist and/or fabric, or if there is something else I missed entirely… In many ways I’m still a novice. Everything I’ve done is pretty much self taught, so I still run into random snags here and there.
And there you have it! Luckily I have a bit of extra fabric, mostly from the black and white end, and I have some ideas on how to use it 😉 And here’s hoping I can wear it in front of the Moulin Rouge someday soon!
Stay tuned!
PS: If you’re looking for a quick, simple video tutorial, this one is great!

